
There are a few recipes that feel less like a set of instructions and more like a cherished family heirloom. This Grandma’s Thanksgiving Stuffing is one of them. For as long as I can remember, this dish has been the centerpiece of our holiday table, not just because of its incredible flavor, but because of the memories and stories woven into every single bite.
This is the stuffing that everyone asks for, the one that makes your kitchen smell like a cozy autumn day, and the one that tastes exactly like a warm hug. It’s a classic for a reason—it doesn’t rely on a lot of complicated ingredients or fancy techniques. It’s all about the perfect blend of savory bread, aromatic vegetables, fresh herbs, and a secret touch of nostalgia.
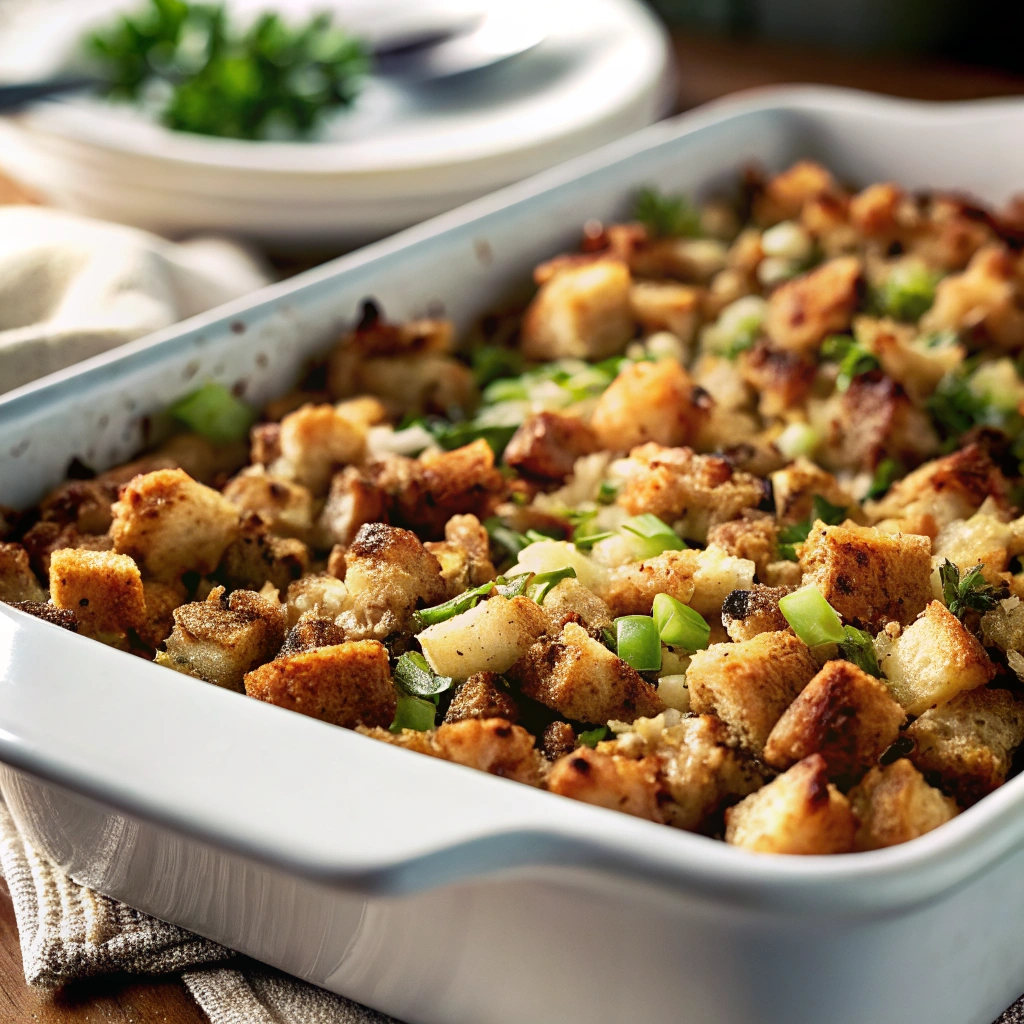
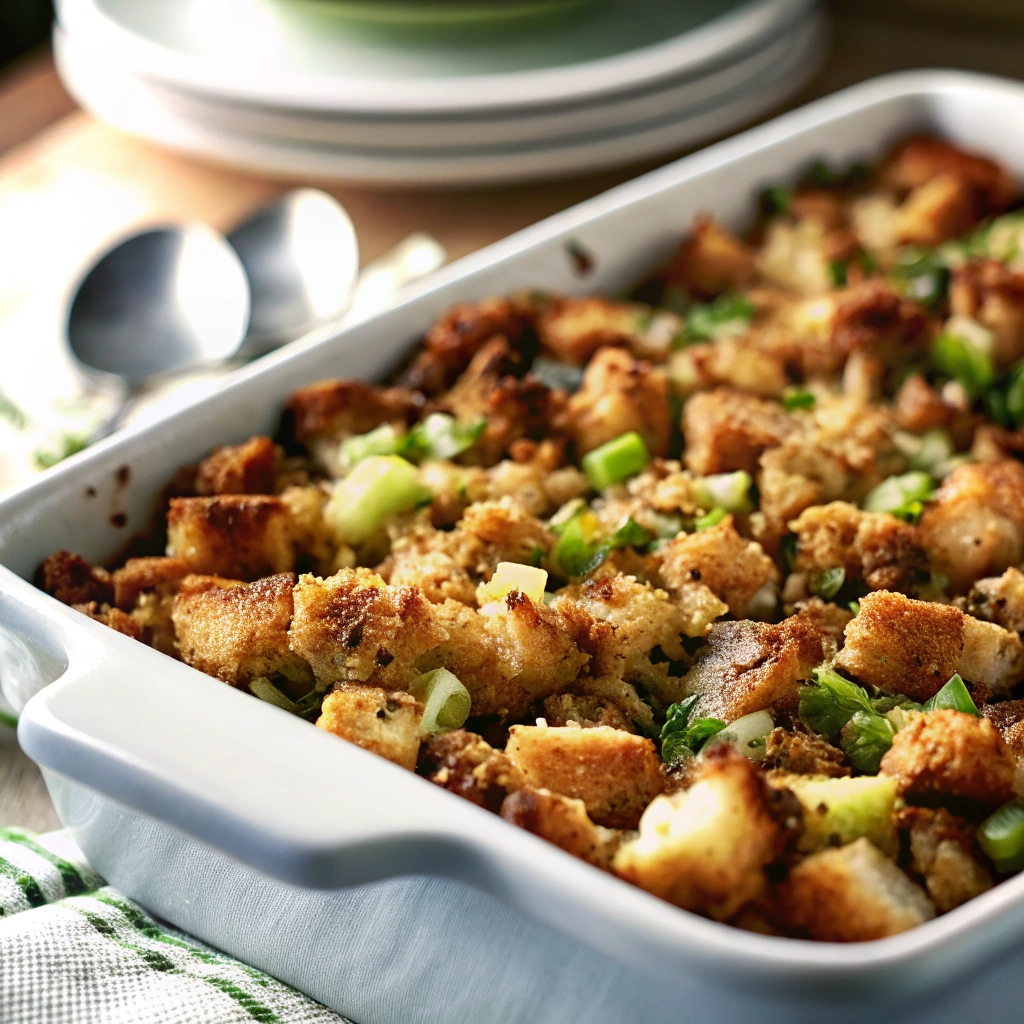
Unlike many stuffing recipes that turn out dry and crumbly, this one is perfectly moist and tender, with a delicious golden-brown crust on top. The magic lies in a generous amount of butter and a balanced ratio of broth to bread, ensuring every spoonful is packed with flavor. Whether you’re a first-time holiday host or a seasoned chef, this recipe will bring a timeless piece of tradition to your table.
The Secret to the Best Thanksgiving Stuffing
Why is this recipe the one you need to save? It’s simple perfection.
- Nostalgic Flavor: This is the quintessential stuffing flavor you grew up with. It’s the perfect blend of savory, buttery, and herbaceous notes without any unnecessary distractions.
- The Perfect Texture: No one wants dry stuffing. This recipe guarantees a moist, tender interior with a crisp, golden top layer that provides a satisfying contrast in every bite.
- Simple & Straightforward: This isn’t a complicated recipe. It uses common ingredients and a simple process that anyone can follow, making it a stress-free addition to a busy holiday menu.
- Scalable: Whether you’re feeding a small family or a crowd, you can easily double or triple this recipe without compromising on flavor or texture.
Ingredients
- 1 large loaf (approx. 1.5 lbs) of sturdy, day-old white bread or sourdough bread, cut into 1-inch cubes
- 1 cup (2 sticks) unsalted butter, plus more for the baking dish
- 2 cups finely chopped yellow onion (about 1 large onion)
- 2 cups finely chopped celery (about 4 stalks)
- 3 cloves garlic, minced
- 2 tbsp fresh sage, finely chopped
- 1 tbsp fresh thyme leaves, finely chopped
- 1 tbsp fresh rosemary, finely chopped
- 1/2 cup finely chopped fresh parsley
- 2 large eggs, lightly beaten
- 3-4 cups low-sodium chicken or vegetable broth, warmed
- 1 tsp salt
- 1/2 tsp black pepper
Step-by-Step Instructions
- Prep the Bread: The day before you plan to make the stuffing, cut your bread into 1-inch cubes. Spread the cubes in a single layer on a large baking sheet and let them sit out overnight to dry. This is crucial to prevent the stuffing from becoming mushy. Alternatively, you can toast the bread cubes in a 250°F (120°C) oven for about 20-30 minutes, or until dried out and lightly golden.
- Sauté the Vegetables: In a large skillet or Dutch oven, melt the butter over medium heat. Add the chopped onion and celery. Cook, stirring occasionally, for 8-10 minutes, or until the vegetables have softened and the onions are translucent. Add the minced garlic and fresh herbs (sage, thyme, rosemary, and parsley). Cook for another 1-2 minutes until fragrant.
- Combine Ingredients: In a very large mixing bowl, combine the dried bread cubes with the sautéed vegetables.
- Add the Liquids: In a separate small bowl, whisk together the lightly beaten eggs, 3 cups of the warmed broth, salt, and pepper.
- Mix Thoroughly: Pour the liquid mixture over the bread and vegetable mixture. Use a large spoon to gently toss the ingredients together until the bread is evenly moistened. If the mixture seems too dry, slowly add the remaining cup of broth, a little at a time, until the bread is moistened but not soggy. The bread should be soft but still hold its shape.
- Transfer to Baking Dish: Generably butter a 9×13-inch baking dish. Spoon the stuffing mixture into the prepared dish and spread it out evenly.
- Bake: Cover the baking dish tightly with aluminum foil. Bake at 350°F (175°C) for 30 minutes. Then, remove the foil and bake for another 15-20 minutes, or until the top is golden-brown and slightly crispy.
- Serve and Enjoy: Let the stuffing rest for a few minutes before serving. It’s the perfect side dish for your Thanksgiving feast!
Serving Suggestions and Variations
This stuffing is delicious on its own, but you can also customize it to your liking and pair it with other dishes.
- Classic Pairing: Serve this stuffing alongside a roasted turkey or chicken with a generous pour of gravy. It’s also delicious with mashed potatoes, cranberry sauce, and green beans.
- Sausage & Mushroom: Add 1 pound of cooked and crumbled sausage and 1 cup of sautéed mushrooms to the vegetable mixture in Step 2.
- Cranberry & Pecan: For a festive twist, fold in 1 cup of dried cranberries and 1 cup of toasted pecans before baking.
- Oyster Stuffing: For a classic coastal variation, gently fold in 1-2 cups of shucked oysters (drained) right before adding the stuffing to the baking dish.
Frequently Asked Questions
- What kind of bread is best? A sturdy, rustic bread like sourdough, ciabatta, or a classic white loaf is best. Soft sandwich bread tends to turn to mush. Day-old bread is essential as it absorbs the liquid better without falling apart.
- Can I make this ahead of time? Yes! You can prepare the stuffing mixture (up to step 6) and store it in the buttered baking dish, covered tightly, in the refrigerator for up to 24 hours. Let it sit on the counter for 30 minutes before baking, and you might need to add a few extra minutes to the baking time.
- Can I stuff this inside the turkey? While you can, it’s not recommended. For food safety, stuffing must reach an internal temperature of 165°F (74°C) to be safe to eat. This can be difficult to achieve inside the turkey, and it can also make the turkey meat dry. Baking it separately in a dish is the safest and most reliable method.
- What’s the difference between stuffing and dressing? The terms are often used interchangeably, but traditionally, stuffing is cooked inside the bird, and dressing is cooked in a separate dish. This recipe is a dressing, but we call it stuffing because that’s what Grandma always called it!
This stuffing recipe is a true testament to the fact that the most memorable dishes are often the simplest ones, made with love. I hope it brings as much joy to your holiday table as it has to ours.
Don’t forget to Pin this recipe for later and share your own family memories in the comments below!
Grandma’s Thanksgiving Stuffing
Ingredients
Equipment
Method
- Preheat oven to 350°F (175°C). Grease a 9×13-inch baking dish.
- In a skillet, melt butter over medium heat. Add onion, celery, and garlic; cook until softened.
- In a large bowl, combine bread cubes, sautéed vegetables, sage, thyme, rosemary, salt, and pepper.
- Pour chicken broth and beaten eggs over the mixture and stir until evenly moistened.
- Transfer mixture to the prepared baking dish. Cover with foil and bake for 30 minutes.
- Remove foil and bake for an additional 15 minutes until the top is golden and slightly crispy.