

The rush of the holiday season often leaves very little time for elaborate baking projects. Yet the desire to create ADORABLE festive treats for gifting or Christmas dessert remains strong. When time is truly limited and you need a high-impact festive cookie that requires zero oven time and maximum fun you turn to the world of no-bake confections.
Many parents and busy bakers seek solutions for kids holiday baking that are simple safe and fast. Melting chocolate and decorating candies offer the perfect low-stress environment for creativity.
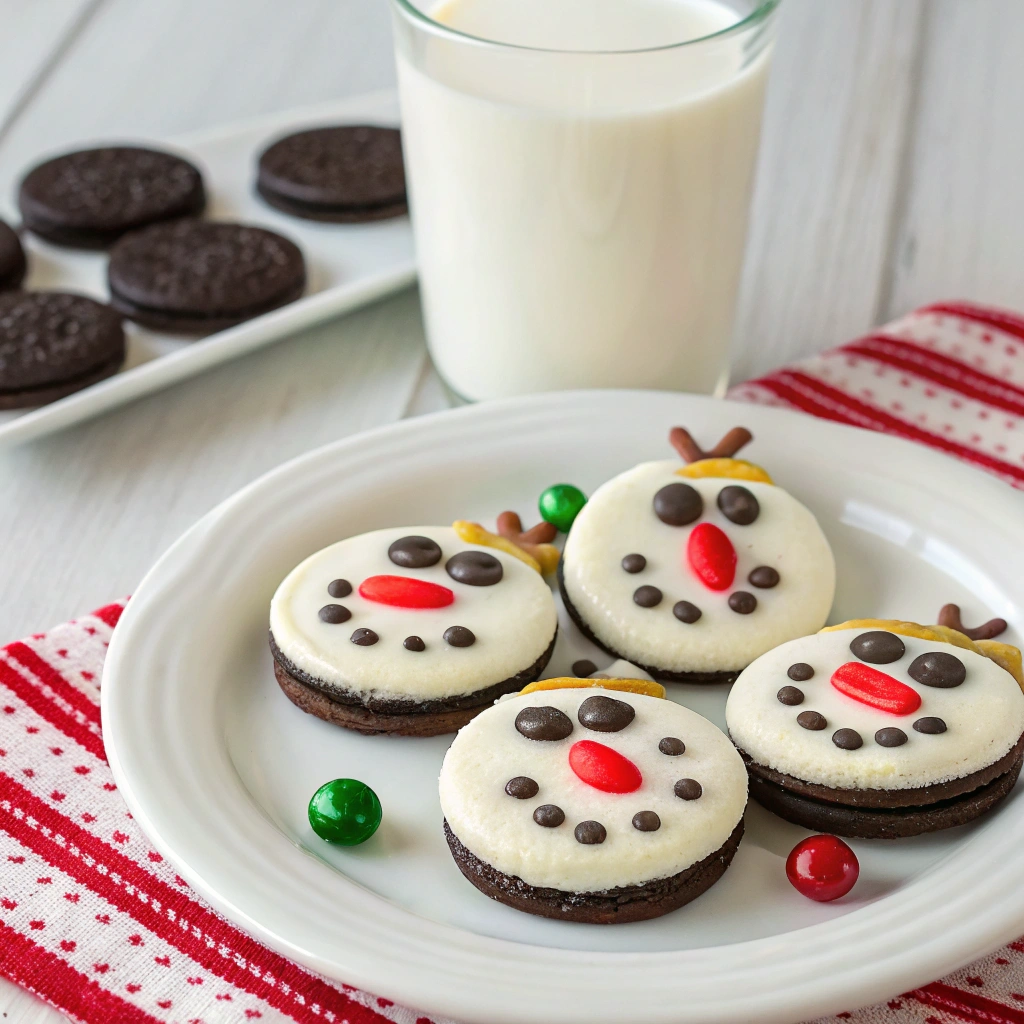
This Oreo Snowman Cookies recipe is the definitive answer—a simple clever and incredibly effective way to create a classic winter character in minutes.
This recipe uses two Oreo cookies coated in white vanilla melting wafers to form the body and head of the snowman. The cookies are instantly recognizable ADORABLE and require only simple candies for decoration—gumdrops for noses chocolate chips for buttons and candy eyes for personality. It is the ULTIMATE no-bake Christmas cookies hack.
This recipe is a must-pin for anyone searching Christmas Cookies or Christmas Cookies Decorated because it solves the time crunch problem and delivers a high-value easy holiday treat. If you are looking for the BEST kids holiday baking activity this simple method is your guaranteed winner.
Why You’ll Love These Oreo Snowman Cookies
This recipe is a massive holiday success because it delivers exceptional visual appeal and a satisfying chocolate flavor with almost zero cooking required.
- The BEST No-Bake Christmas Cookies The entire process takes less than 10 minutes active time. Melting the wafers in the microwave is the only cooking step making this the BEST no-bake Christmas cookies solution for instant festive cheer.
- ADORABLE and Kid-Friendly The snowman design is instantly ADORABLE and simple enough for small hands to decorate. This makes it the ULTIMATE activity for kids holiday baking encouraging creativity without the complexity of traditional dough.
- Easy and Versatile Decorating Once the Oreos are dipped and connected the decoration possibilities are endless. You can use mini chocolate chips cinnamon candies licorice or pretzels for hats and arms. The process is a fun holiday treat in itself.
- Great for Last-Minute Gifting Because these treats are fast to assemble and require no cooling time beyond hardening they are perfect for last-minute Christmas dessert needs or adding to holiday gifting tins. They are sturdy and keep well for up to three weeks.
Ingredients and Instructions The Dipping Hack
The key to these Oreo Snowman Cookies is using vanilla melting wafers for a smooth white coating and decorating immediately before the candy sets.
| Component | Quantity | Notes |
| Oreo Cookies | 12 (10 for snowmen 2 for hats) | Regular chocolate sandwich cookies |
| Vanilla Candy Wafers | 8 ounces | Melting wafers or almond bark recommended |
| Candy Eyeballs | 24 | Small candy eyes |
| Noses | 12 | Cinnamon red hot candies or small red/orange gumdrops |
| Buttons | 36 | Mini chocolate chips |
| Arms/Hats | Optional | Pretzels or broken Oreo pieces |
- Melt Wafers Line a baking sheet with parchment paper. In a microwave-safe bowl add the vanilla candy wafers. Microwave on high in 30-second intervals stirring after each until the wafers are completely smooth.
- Dip and Connect Dip one Oreo entirely into the melted coating ensuring all sides are covered. Place it on the parchment paper. Immediately dip a second Oreo and place it next to the first so the edges are slightly touching and they stick together (forming the body and head).
- Decorate Immediately This step is crucial. As soon as the two cookies are connected begin decorating before the candy coating sets. Add two candy eyeballs and a nose to the top cookie. Add three chocolate chips down the center of the bottom cookie for buttons.
- Add Hat Break a separate Oreo cookie into small pieces and use a square piece for the snowman’s top hat.
- Let Set Continue dipping connecting and decorating the rest of the cookies. Let them set and cool completely for 5-10 minutes until the candy coating is firm.
- Serve Arrange on a platter and enjoy this delicious easy holiday treat.
Step by Step Mastering the No-Bake Technique
The challenge with these Oreo Snowman Cookies is achieving a smooth white coating that connects the cookies firmly and allows the candies to stick before setting. My early attempts sometimes had candies fall off; I learned the speed of decorating is key.
Here is the detailed human-written guide to mastering this spectacular no-bake Christmas cookies recipe:
- Use Melting Wafers Use vanilla melting wafers or almond bark instead of true white chocolate. Melting wafers are specifically formulated to melt smoothly and easily without seizing up or hardening too quickly giving you more time to decorate. This is the ULTIMATE dipping hack.
- Work in Pairs Dip and connect the two cookies for one snowman immediately. The heat of the freshly dipped candy is what creates the “glue” that holds the body and head together. If the first cookie cools too much before the second is placed next to it they won’t stick.
- Assembly Line is BEST Set up an assembly line to ensure speed. Have one person dip and connect the cookies while another person (perfect for kids holiday baking) immediately places the eyes nose and buttons on the wet surface. This ensures all decorations adhere firmly.
- Broken Oreo Hat For a ADORABLE top hat break an extra Oreo into small square pieces. Dip a corner of the square in the melted coating and affix it to the top of the snowman’s head. You can also use mini peanut butter cups or black gumdrops for a different hat style.
- Storage Single Layer Once decorated allow the cookies to set completely for 10 minutes. When storing them place them in an airtight container in a single layer separated by parchment paper. Stacking them directly will risk knocking off the delicate candy pieces.
Variations Serving and Storage Tips
This core Oreo Snowman Cookies recipe is a foundational easy holiday treat perfect for customization.
Delicious Variations to Try
- Gingerbread Snowman Substitute the chocolate Oreos with gingersnap cookies or Golden Oreos for a spicier or lighter flavor base.
- Mint Chocolate Snowman Use Mint Oreos for a refreshing Christmas dessert twist.
- Scarves and Arms Use thin strips of licorice for scarves or small pretzel sticks for stick arms for extra detail.
- Colored Coating Use red green or blue melting wafers instead of white to create “hulk snowmen” or other fun characters as suggested by the recipe creator turning this into a fun holiday treat for any season.
Serving Suggestions
These ADORABLE cookies are perfect for:
- Kids Party Serve alongside a warm mug of hot cocoa for a complete winter treat.
- Gifting Place 2-3 snowmen in a clear cellophane bag and tie with a ribbon for a homemade holiday gift.
- Dessert Platter Place them on a platter with other Christmas Cookies like gingerbread men and pinwheels for contrast.
Storage and Recipe Notes
| Item | Details |
| Keep Fresh | Store in a cool dry airtight container up to 3 weeks |
| Stacking | Avoid stacking unless frozen and separated by parchment paper |
| Freezing Baked | Freeze for up to 3 months in a single layer |
| Coating Type | Use candy melting wafers for the easiest smoothest coat |
Conclusion Your Most ADORABLE No-Bake Christmas Cookies
The Oreo Snowman Cookies recipe is the perfect blend of simple technique and maximum ADORABLE holiday impact. It’s the BEST no-bake Christmas cookies solution that guarantees an easy holiday treat and fun holiday treat every time.
By embracing this simple dipping hack you ensure your holiday is filled with creative Christmas Cookies and low-stress kids holiday baking.
Pin this easy holiday treat today and enjoy the BEST ADORABLE Oreo Snowman Cookies
The ADORABLE Oreo Snowman Cookies
Ingredients
Equipment
Method
- Line a baking sheet with parchment. Place vanilla candy wafers in a microwave-safe bowl and heat in 30-second intervals, stirring until completely smooth.
- Dip one Oreo completely in the melted coating and set on parchment. Immediately dip a second Oreo and press it gently so the edges touch and stick, forming the snowman’s body and head.
- Before the coating sets, add two candy eyes and a gumdrop nose on the top cookie, and three mini chocolate chips on the lower cookie for buttons.
- Break an extra Oreo into squares and attach one piece to the head as a hat, or press pretzel sticks into the sides for arms. Work quickly before the coating hardens.
- Allow decorated cookies to sit 5–10 minutes until the coating is firm and dry to the touch.
- Arrange snowmen on a platter or package in single layers separated by parchment paper. Store airtight up to 3 weeks in a cool, dry spot.