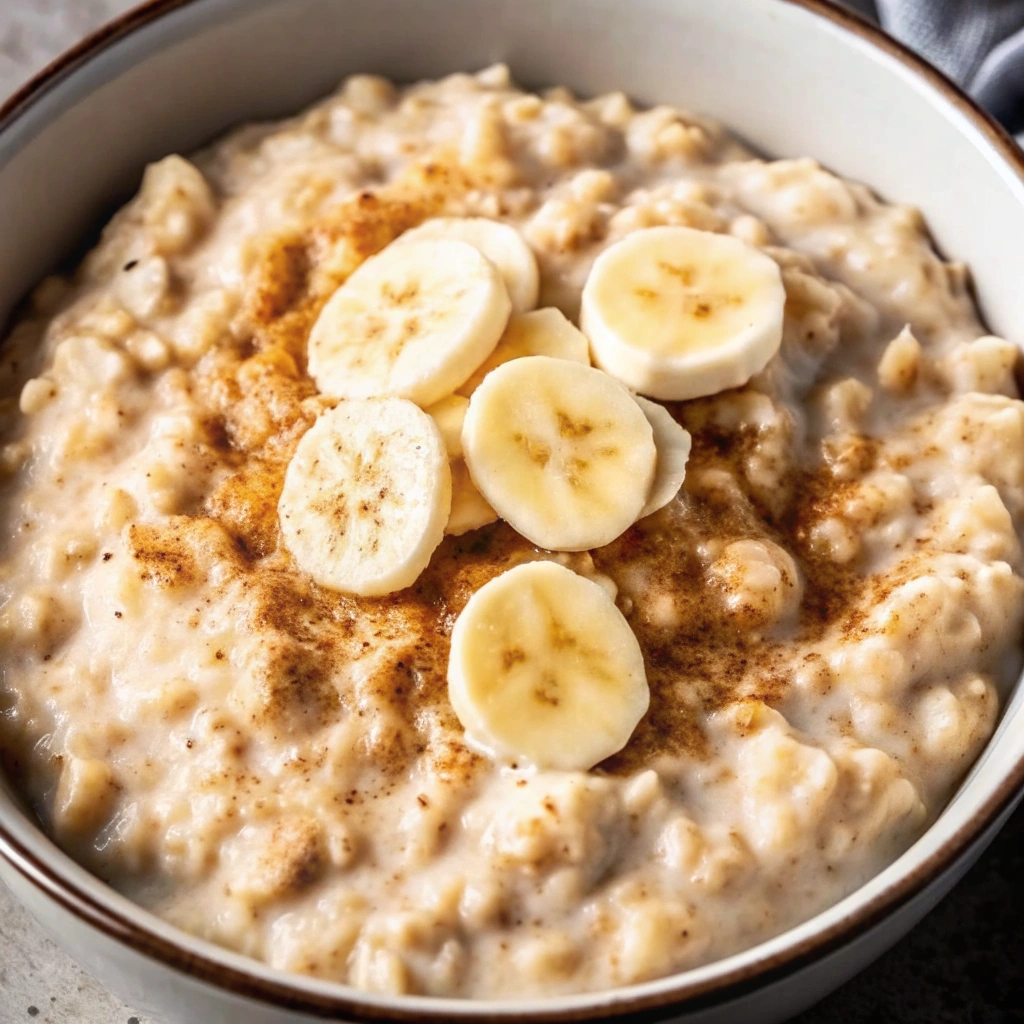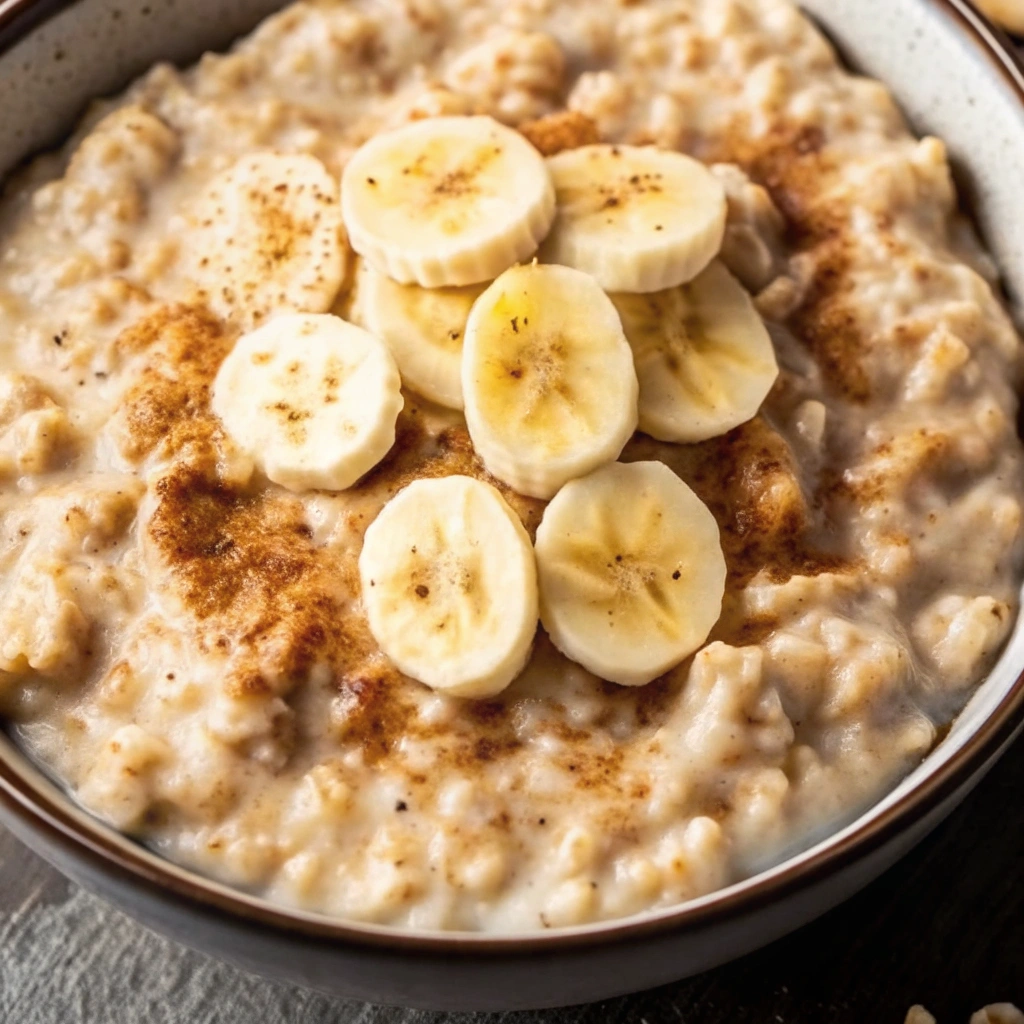
Few flavor combinations are as deeply satisfying and universally loved as Peanut Butter & Banana. It’s the ultimate comfort pairing, popularized by the king of rock and roll himself, yet perfect for a modern, healthy, and effortless snack. This Peanut Butter & Banana Bliss recipe is the definitive way to enjoy this classic duo—no baking required, and ready to go from craving to container in under 15 minutes.
This treat is a simple, 5-ingredient frozen dessert that tastes like a decadent bar but is packed with healthy fats, natural sweetness, and fiber. We create two delicious layers: a creamy, smooth peanut butter and banana base, topped with a rich, yet easy chocolate coating. The freezer does all the heavy lifting, transforming the simple ingredients into a fudgy, cool, and utterly satisfying slice of bliss. It’s naturally gluten-free (if using gluten-free oats) and easily made vegan, making it the perfect healthy indulgence for busy weeknights, post-workout fuel, or a guilt-free late-night snack.
Get ready to skip the highly-processed frozen desserts and fall in love with this wholesome, yet unbelievably tasty Peanut Butter & Banana Bliss recipe. It’s effortless joy in every single bite!
Why This Simple Bliss Recipe is a Go-To Treat
This recipe’s brilliance lies in its simplicity and the textural magic that happens once it hits the freezer. Here’s why this method is superior for a healthy, no-bake treat:
- Natural Sweetness and Creaminess: We rely entirely on the sweetness and natural texture of the banana. When blended with peanut butter, the banana not only sweetens the base but acts as the primary binder and thickener, eliminating the need for excessive added sugars or dairy.
- Texture Contrast: The secret is the contrast. The base is smooth and fudgy straight out of the freezer, while the optional oat or graham cracker base provides a delicious, contrasting crunch. The hard shell of the frozen chocolate coating adds the final layer of texture satisfaction.
- High in Healthy Fats: This recipe utilizes the healthy monounsaturated fats found in peanut butter. These fats make the treat incredibly satisfying, providing lasting energy and preventing blood sugar spikes, unlike many traditional sugar-heavy desserts.
- Ultimate Convenience: There is zero oven time, zero dough chilling, and minimal dishes. The bars are made in a single batch, then stored in the freezer, ready to grab whenever the craving strikes.
Ingredients
This recipe is designed to be minimal, clean, and delicious. Note: Use 100% pure nut butter (just nuts and salt) for the best flavor and texture.
For the Peanut Butter-Banana Base (Layer 1)
- 2 medium ripe bananas (spotted but not brown)
- 1 cup creamy natural peanut butter (stir well if separated)
- 1/4 cup maple syrup or honey (optional, adjust based on banana ripeness)
- 1 teaspoon vanilla extract
- 1/4 teaspoon Kosher salt
For the Optional Crunchy Crust (Layer 2)
- 1/2 cup rolled oats (quick or old-fashioned) OR graham cracker crumbs
- 2 tablespoons melted coconut oil or melted butter
- 1 tablespoon brown sugar (if using oats)
For the Decadent Chocolate Topping (Layer 3)
- 1/2 cup semi-sweet chocolate chips (or dark chocolate)
- 1 teaspoon coconut oil (or butter)
Step-by-Step Instructions: Mix, Freeze, and Dip
The process is fast, but patience is required during the freezing steps to ensure clean layers and a firm final product.
Part 1: Preparing the Base and Crust (15 Minutes)
- Prep Pan: Line an 8×8-inch baking dish (or a loaf pan for thicker bars) with parchment paper, leaving an overhang on two sides for easy removal later.
- Make Crust (Optional): In a small bowl, mix the oats (or graham crumbs), melted coconut oil/butter, and brown sugar (if using). Press this mixture firmly into the bottom of the prepared pan in an even layer. Freeze for 10 minutes while you prepare the filling. (If skipping the crust, move to Step 3).
- Prepare Banana Base: In a food processor or blender, combine the ripe bananas, natural peanut butter, maple syrup (or honey), vanilla extract, and salt. Process until completely smooth and creamy. It should be thick, like a very soft dough.
- Assemble Layers: Pour the banana-peanut butter mixture over the chilled crust (or directly into the un-crusted pan). Use an offset spatula to spread it into an even layer.
- First Freeze: Place the pan in the freezer for 2 hours, or until the base is firm enough to handle and is no longer sticky to the touch.
Part 2: Applying the Chocolate Coating
- Melt Chocolate: In a microwave-safe bowl, combine the chocolate chips and 1 teaspoon of coconut oil. Microwave in 30-second intervals, stirring between each, until the chocolate is completely smooth. The coconut oil ensures the coating remains thin and sets up with a nice “snap.”
- Cut Bars: Remove the frozen peanut butter base from the pan using the parchment paper overhang. Place it on a cutting board. Use a sharp knife dipped in hot water to cut the large frozen slab into 16 squares or bars.
- Dip or Drizzle:
- Dipping: Dip the bottom of each bar into the melted chocolate, shaking off the excess, and place them on a clean parchment-lined sheet.
- Drizzling: For a simpler method, place all the cut bars back on the parchment-lined baking sheet and drizzle the melted chocolate over the tops.
- Final Freeze: Return the bars to the freezer for an additional 15 minutes to allow the chocolate coating to fully set and harden.
- Serve: Serve straight from the freezer.
Pro Tips for Ultimate Frozen Bliss
Achieving the perfect fudgy texture and clean, crisp layers is easy with these simple tips.
- Use Ripe Bananas, Not Overripe: Select bananas that are ripe with a few brown spots, but not excessively brown or mushy (like you would for banana bread). Excessively brown bananas will be too watery and might cause the final frozen texture to be icy rather than fudgy.
- The Coconut Oil Snap: Adding 1 teaspoon of coconut oil (or butter) to the melted chocolate is essential if you plan to dip the bars. This small amount of fat thins the chocolate, allowing it to coat smoothly, and helps it set up firmly with a satisfying crack when bitten into—similar to a magic shell.
- Chill Between Steps: Never rush the freezing process. If you pour the peanut butter layer over a non-frozen crust, the crust will melt and become soggy. If you try to cut or dip the bars before the base is completely frozen, they will smear and fall apart. Two hours for the base is crucial.
- Warm the Knife: Dipping your knife into hot water and wiping it dry before cutting the frozen slab will ensure you get perfectly clean, straight edges on your bars every time. Repeat this wipe-and-dip process for every few cuts.
- Natural Peanut Butter Only: This recipe relies on natural peanut butter (the kind that separates, containing only peanuts and salt). Processed peanut butter (like Jif or Skippy) contains stabilizers and sugar that change the consistency and may make the base too thick or too greasy once frozen.

Serving Suggestions and Creative Variations
These bars are delicious on their own, but they are also a perfect base for adding more flavor, texture, and fun!
Serving Ideas
- Mini Bites: Cut the frozen slab into 36 small squares instead of 16 bars. Serve them on a platter with small toothpicks for an elegant party appetizer.
- Frozen “Ice Cream”: Blend two bars with 1/4 cup of milk (dairy or non-dairy) in a blender for an instant, thick, soft-serve ice cream.
- Crumble Topping: Crumble two frozen bars over a bowl of Greek yogurt or oatmeal for a decadent breakfast treat.
Creative Flavor Variations
- Chocolate Chip Base: Fold 1/2 cup of mini chocolate chips directly into the peanut butter-banana base mixture before freezing for chocolate in every bite.
- Tropical Twist: Add 1/4 cup of unsweetened shredded coconut to the oat crust and use almond butter instead of peanut butter for a slightly different flavor profile.
- Spicy Crunch: Add 1/2 teaspoon of ground cinnamon to the oat crust mixture. Before freezing, sprinkle a pinch of flaky sea salt and a tiny dash of cayenne pepper over the chocolate topping for a sweet-spicy kick.
- Protein Boost: Stir in 1 scoop of unflavored or vanilla whey protein powder into the peanut butter-banana base (you may need to add an extra tablespoon of milk or water to maintain the smooth consistency).
Frequently Asked Questions
- Do I have to use natural peanut butter? Yes, for the best result. Natural, runny peanut butter is essential because it is thinner and mixes smoothly with the frozen banana base, creating a uniform, fudgy texture. If you use standard, stabilized peanut butter, the final product may be too dense or dry.
- Can I make this dairy-free or vegan? Absolutely! This recipe is naturally dairy-free and vegan, provided you use maple syrup instead of honey and ensure your chocolate chips are dairy-free (most dark chocolate chips are). Use coconut oil instead of butter in the optional crust and the chocolate topping.
- How should I store these bars, and how long do they last? The Peanut Butter & Banana Bliss bars must be stored in the freezer in an airtight container. They will maintain their best quality and flavor for up to 1 month. Layer them with small sheets of parchment paper to prevent them from sticking together.
- What can I use instead of peanut butter for allergies? You can easily substitute any other creamy nut or seed butter, such as almond butter (for an “Almond Banana Bliss”) or sunflower seed butter (SunButter) for a school-friendly option.
- My bars are too icy. What went wrong? Icy bars usually mean too much water was introduced. This often happens if you used overripe, watery bananas, or if the peanut butter was too cold and required too much milk/cream to thin it out. Ensure your bananas are just ripe and that you only add the bare minimum of liquid needed for processing.
This Peanut Butter & Banana Bliss is the perfect solution for a clean, easy, and satisfying dessert. Enjoy the pure, simple joy of this no-bake treat!
Don’t forget to Pin this recipe for later and share your favorite topping in the comments below!

Peanut Butter Banana Bliss
Ingredients
Equipment
Method
- Slice bananas and arrange on a plate.
- Drizzle with peanut butter and honey (or maple syrup).
- Sprinkle with granola and chia seeds, if desired.
- Serve immediately and enjoy!
