Irresistible Salted Caramel Apple Bars
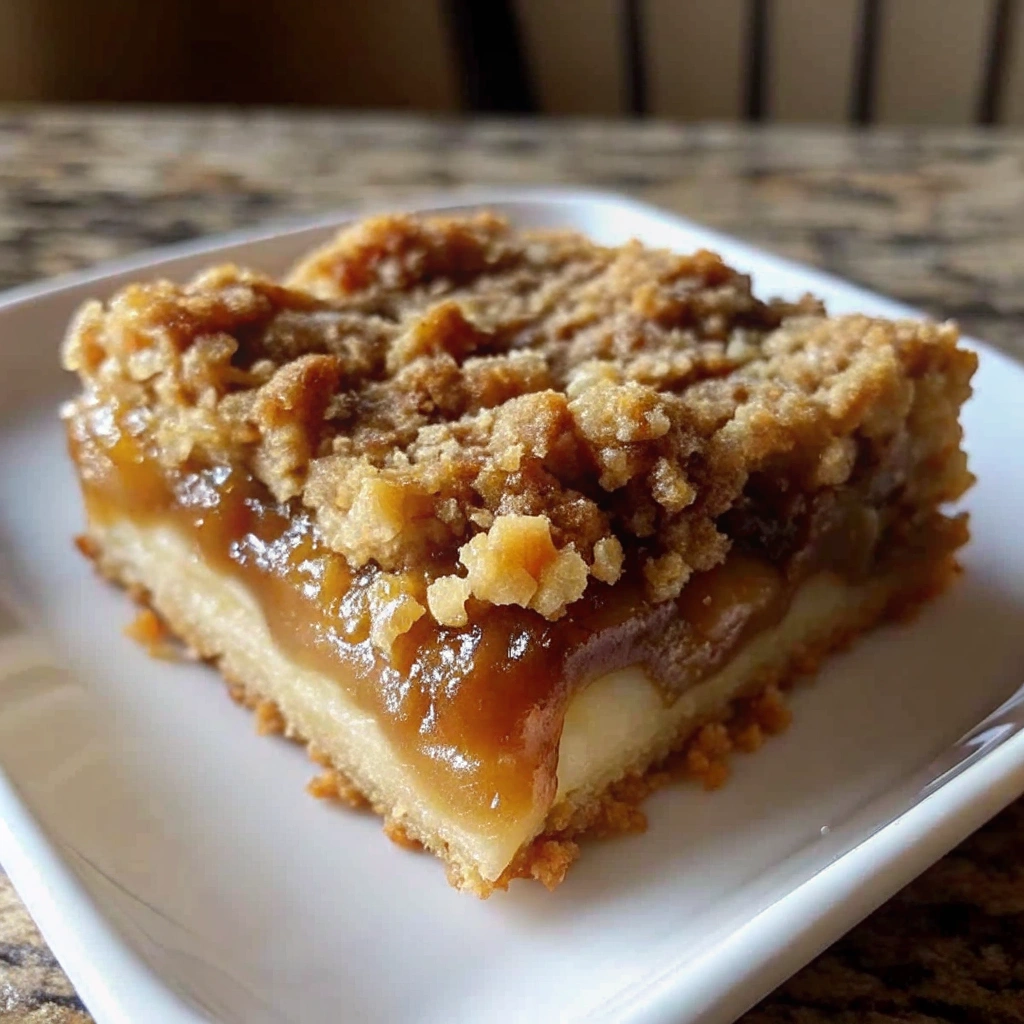
Fall baking wouldn’t be complete without the cozy, comforting flavors of apples and caramel. Irresistible Salted Caramel Apple Bars bring these two classics together in a dessert that’s rich, chewy, …