Eyeball Pasta Salad

Halloween is one of those magical times when food can be both delicious and delightfully spooky. If you’re planning a party, classroom event, or just want to make mealtime more …

Halloween is one of those magical times when food can be both delicious and delightfully spooky. If you’re planning a party, classroom event, or just want to make mealtime more …
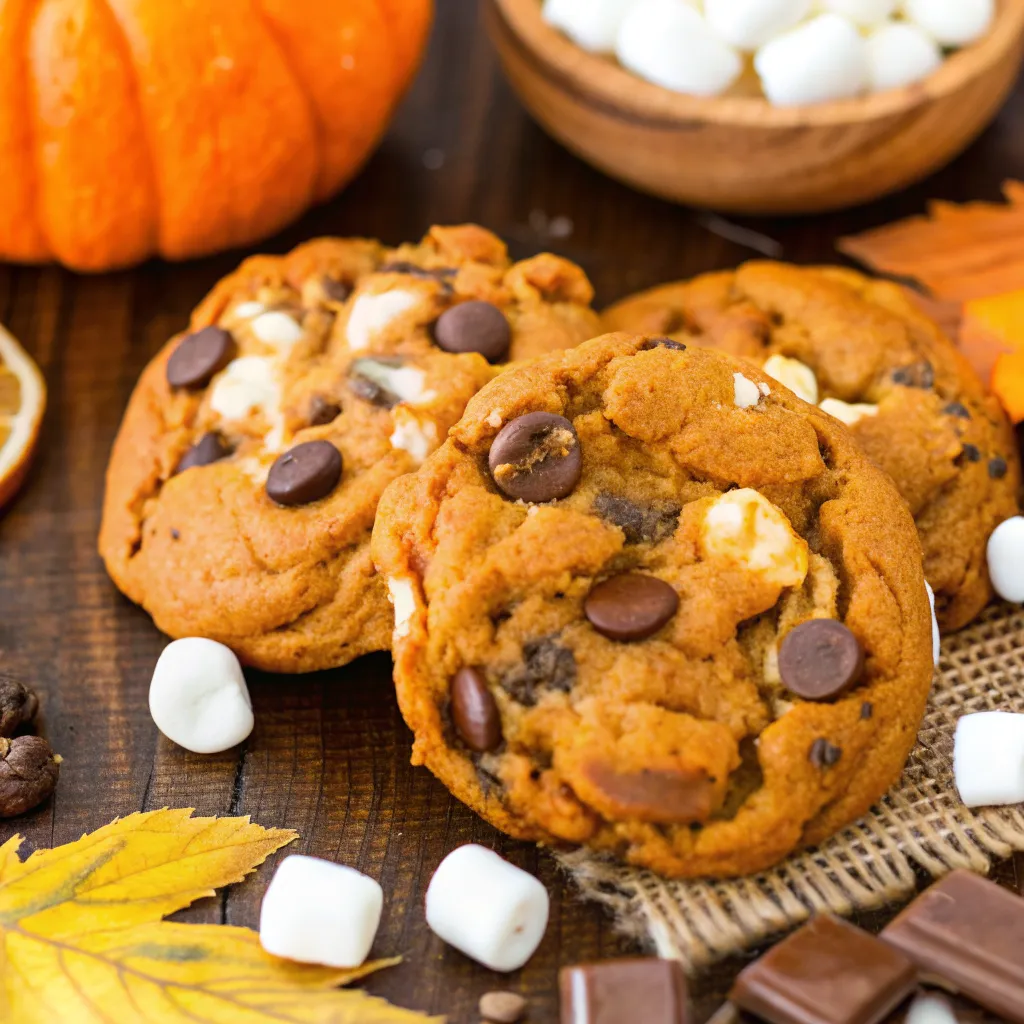
Fall is the perfect time to enjoy cozy desserts that capture the flavors of the season, and these Pumpkin S’mores Cookies do just that. Combining the warmth of pumpkin spice …
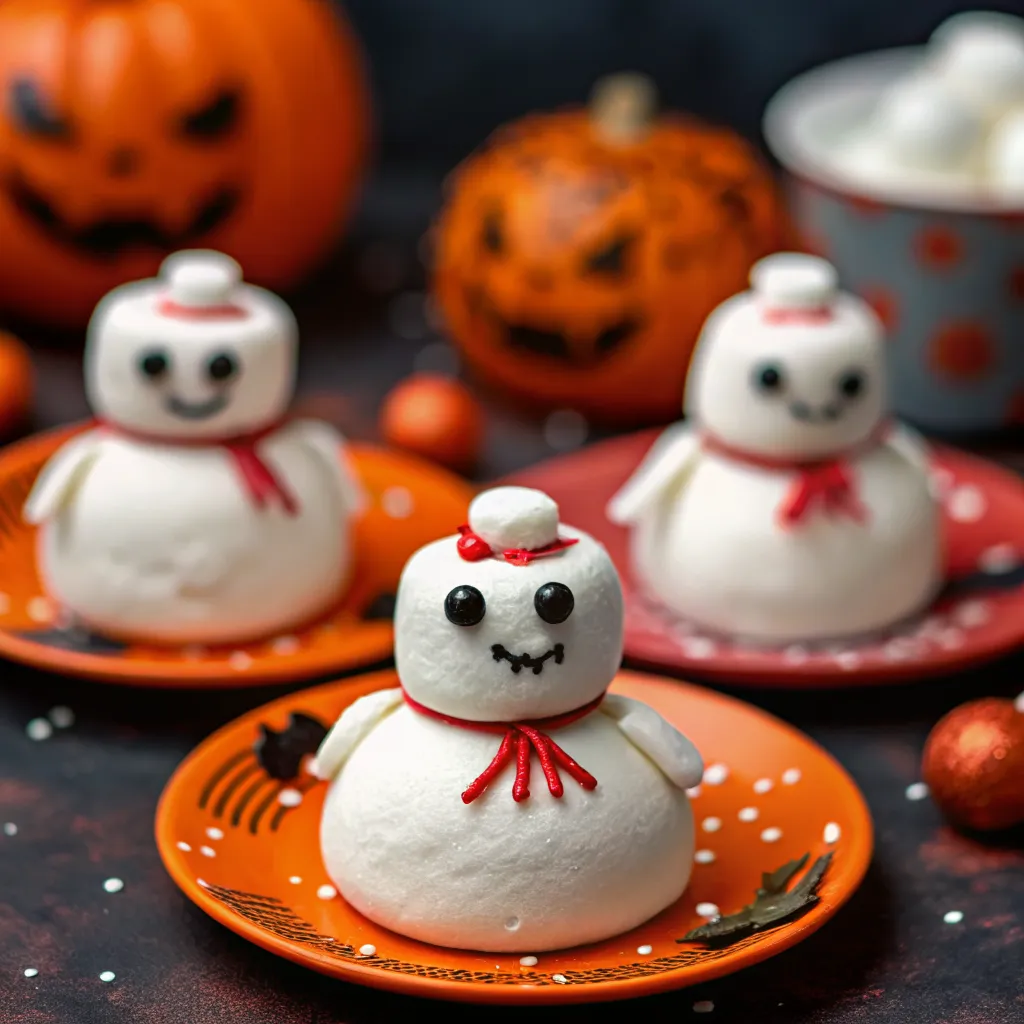
If you’re a Ghostbusters fan—or simply love creative desserts—then you’ll adore these Ghostbusters Stay Puft Marshmallows. Inspired by the iconic Stay Puft Marshmallow Man, these treats are fun, whimsical, and …

Halloween is that magical time of year when kitchens come alive with spooky, festive treats that bring smiles to both kids and adults. While candy is the star of trick-or-treating, …
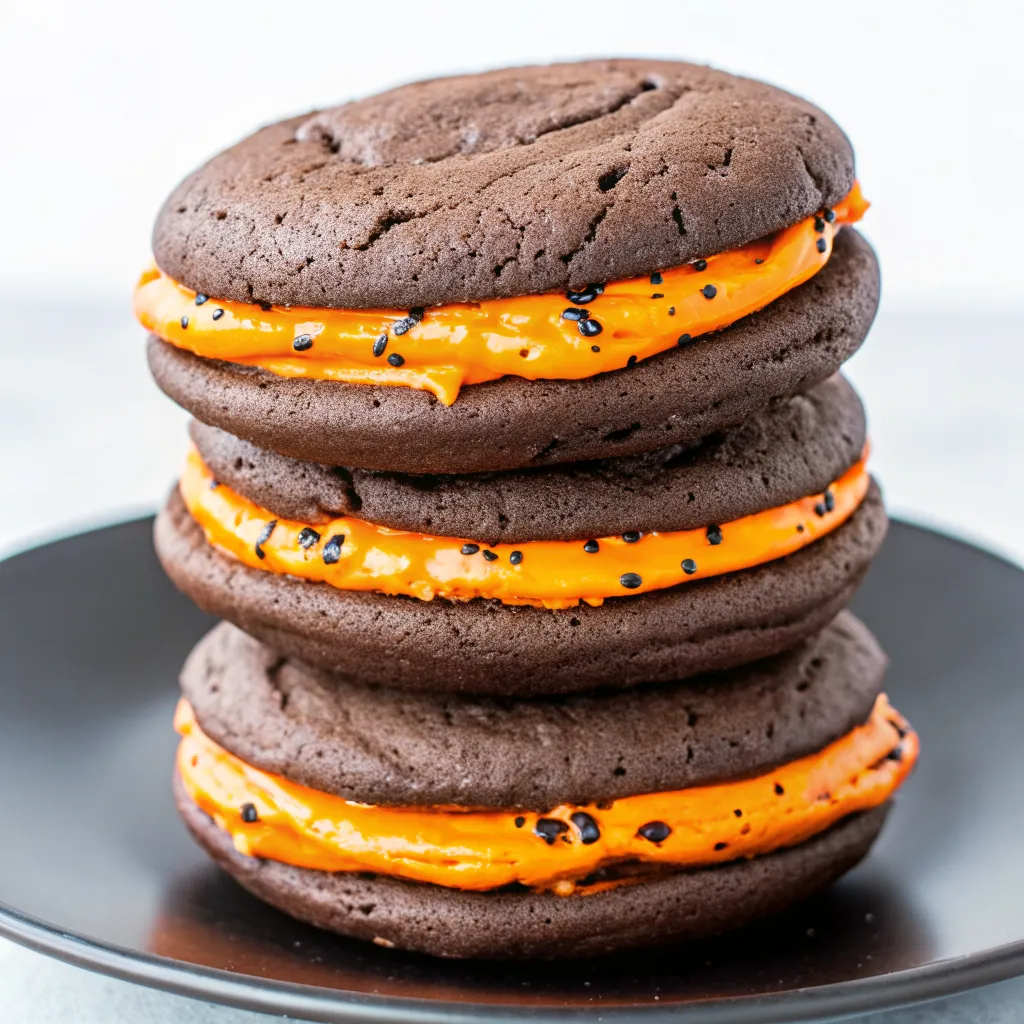
If you’re looking for a fun and festive Halloween treat that’s sure to impress, Halloween Whoopie Pies are the answer. These soft, cake-like cookies sandwich a creamy filling, creating a …
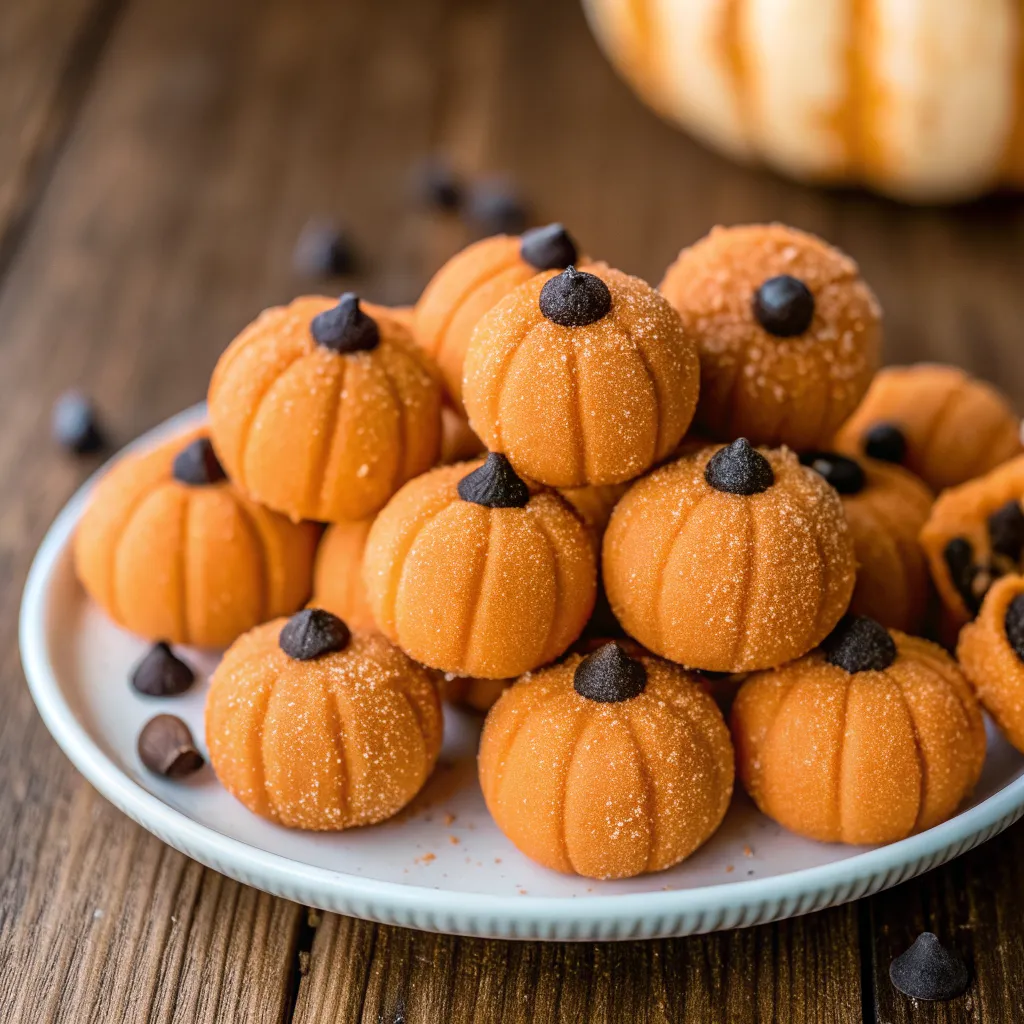
Pumpkin desserts are always a highlight of fall, but when you combine pumpkin with the creamy richness of cheesecake, you get something truly special. These pumpkin cheesecake truffles are little …

When it comes to Halloween treats, spooky meets sweet in the best way with these fun and festive Eyeball Brownies. Perfect for parties, bake sales, or a family-friendly activity in …

There’s nothing quite like a soft, moist pumpkin muffin fresh from the oven, especially when it tastes like it came straight from a bakery. Irresistible Bakery-Style Pumpkin Muffins combine tender …

If you love the warm flavors of fall but don’t want to turn on the oven, Pumpkin Spice No Bake Cookies are the perfect treat. These cookies combine the cozy …
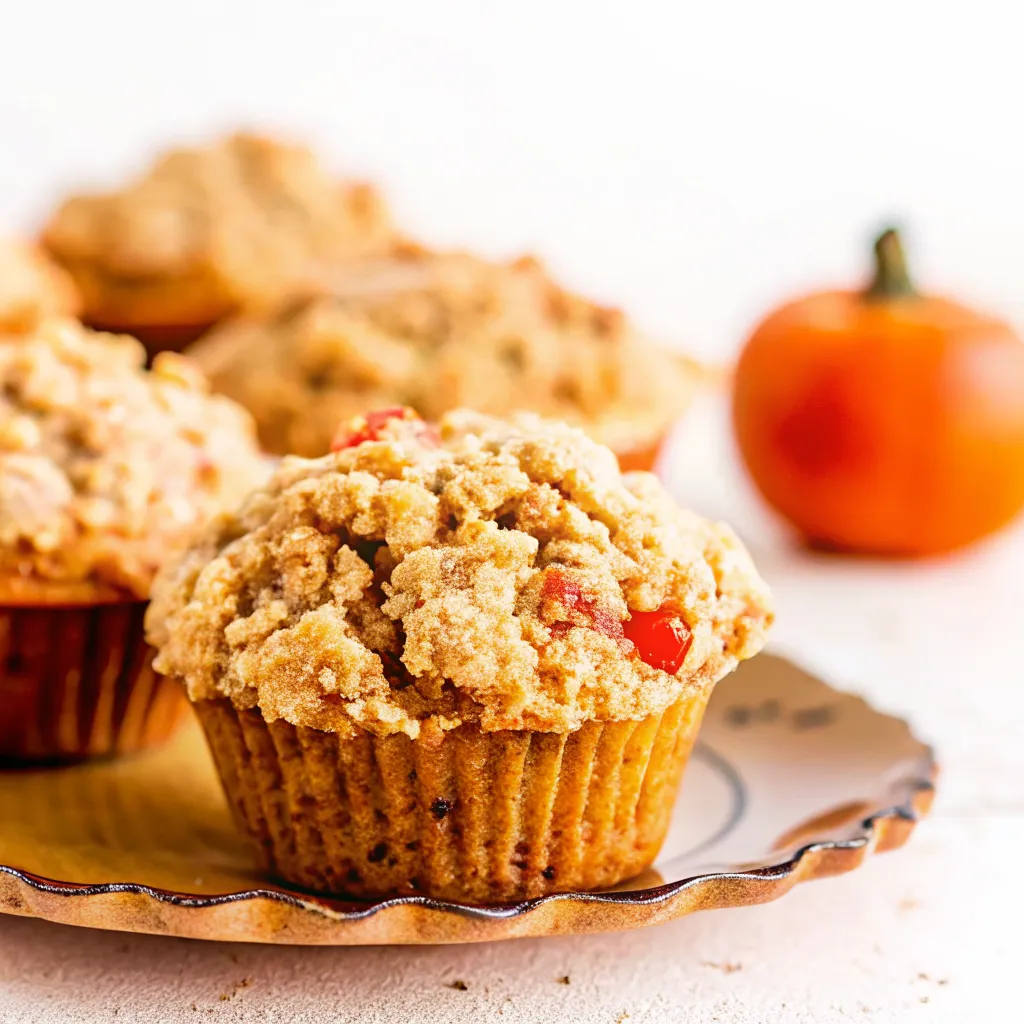
Autumn mornings are meant for cozy flavors, and few treats capture the season like Apple Pumpkin Streusel Muffins. These muffins combine the sweet-tart flavor of apples, the warm spices of …