Double Strawberry Sugar Cookies
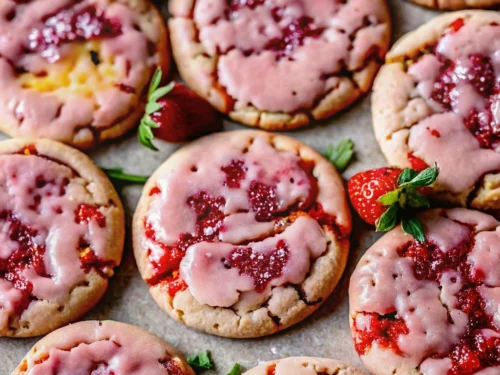
If you’re a fan of fruity, soft, and chewy cookies, these Double Strawberry Sugar Cookies …
Satisfy your sweet tooth with our collection of decadent dessert recipes. From cakes and cookies to simple sweet treats, find your perfect indulgence.
If you’re a fan of fruity, soft, and chewy cookies, these Double Strawberry Sugar Cookies …
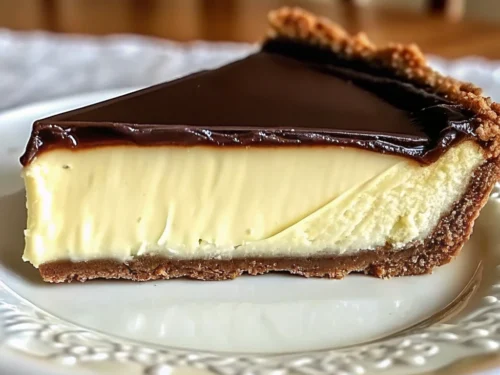
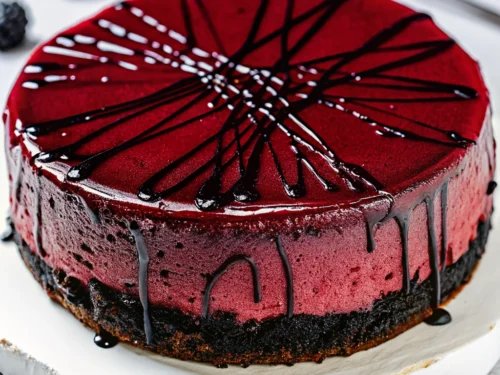
If you love classic desserts with a twist, Boston Cream Pie Cheesecake is the perfect …
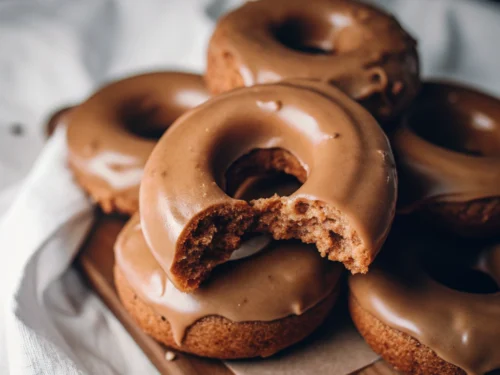
There’s something magical about the warm flavors of pumpkin and spice when fall rolls around, …
Hi, I’m Michonne from Cook Joy Recipes! If there’s one dessert that always gets people …

Hi, I’m Michonne from Cook Joy Recipes! Around the holidays, nothing makes me happier than …
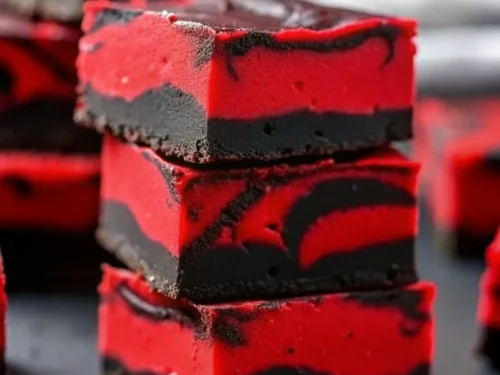
Hi, I’m Michonne, the baker behind Cook Joy Recipes! Halloween is one of my favorite …

Hi, I’m Michonne from Cook Joy Recipes! As someone who grew up loving simple yet …
Hi, I’m Michonne, the baker behind Cook Joy Recipes! Growing up, I always loved the …

Hi, I’m Michonne from Cook Joy Recipes! Fall is the season that makes me want …