
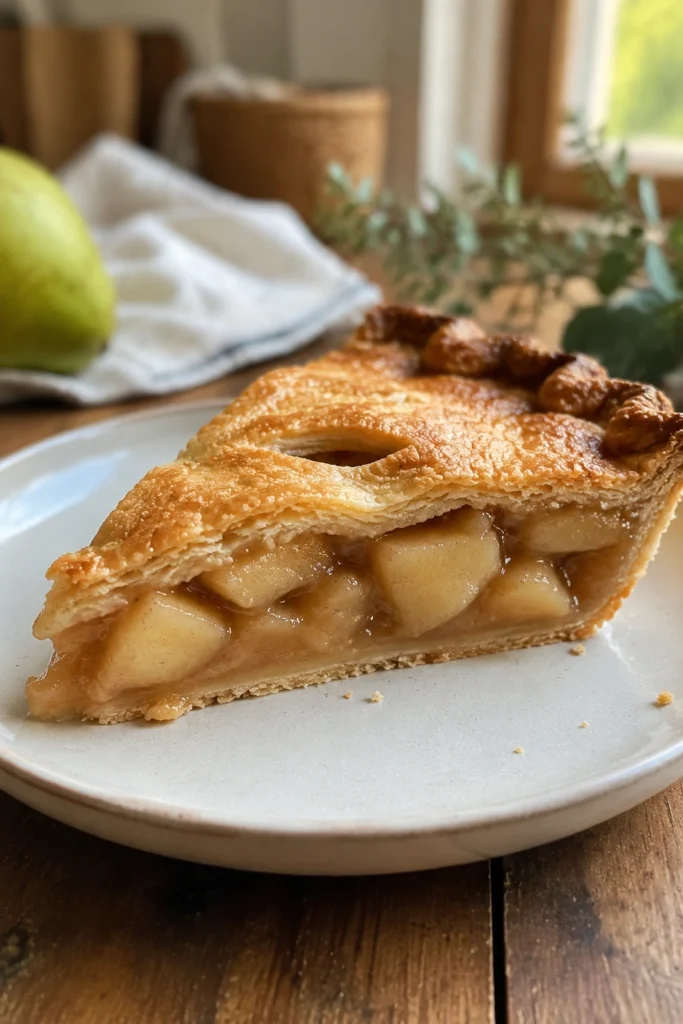
When people think of Thanksgiving desserts, apple pie usually steals the spotlight. But this Easy Pear Pie deserves a seat at the table too, and it might just become your new favorite.
Soft, juicy pears mingle with warm cinnamon spice, all wrapped in a buttery, flaky crust. It’s a simple dessert recipe that feels both familiar and refreshingly different.
Why You’ll Love This Easy Thanksgiving Dessert
Pear pie has one major advantage over its apple counterpart: the fruit doesn’t need to be pre-cooked. That alone makes this a genuinely quick and easy option for busy holiday bakers.
- No pre-cooking required: Pears are naturally soft, so they bake perfectly right in the crust.
- A crowd pleaser: A comforting twist that surprises guests in the best way.
- Kid friendly prep: Kids love helping cut slits into the top crust.
- Make ahead friendly: Freeze the whole pie or just the filling for later.
- Unique addition: A creative alternative for any dessert table or fall board.
Whether you’re building out a big holiday spread or just want something a little different, this pie is an easy win.
Common Mistakes (And How to Avoid Them)
A few small missteps can affect the texture and flavor of your pear pie. Here’s what to watch out for.
Skipping the lemon juice. Lemon juice keeps the pears from browning while they bake and adds a bright balance to the sweetness. Don’t leave it out.
Using overripe pears. Very soft, mushy pears can turn your filling watery. Choose pears with just a slight give when gently pressed.
Cutting the pears too large. Oversized chunks make for an awkward bite and uneven baking. Aim for bite-sized pieces throughout.
Skipping the temperature change. This recipe starts at a higher oven temperature before dropping down. Skipping that first hot blast can leave you with a pale, underbaked crust.
Key Ingredients for Easy Pear Pie
Understanding what each ingredient brings to the recipe helps explain why this simple pie works so well.
Pears are the star of the show, and Bartlett or Anjou varieties are especially well suited for baking. Their natural softness means no pre-cooking is needed before filling the crust.
Lemon zest and juice brighten the flavor and prevent the pears from browning as they’re prepped and baked.
Cinnamon brings warm holiday flavor that pairs beautifully with the pears’ natural sweetness.
Butter adds richness to both the crust and the filling, and it’s worth using real butter rather than substitutes for the best flavor and flakiness.
A double pie crust holds everything together, with the top layer creating that classic golden, flaky finish.
How to Make Easy Pear Pie
This step-by-step method walks you through the whole process from mixing to baking.
- Preheat the oven and lightly grease a deep dish pie pan.
- In a bowl, combine sugar, flour, salt, cinnamon, and lemon zest.
- Toss the peeled, chopped pears in the sugar mixture until fully coated.
- Line the pie pan with the bottom crust and add the pear filling.
- Dot the filling with butter and drizzle with lemon juice.
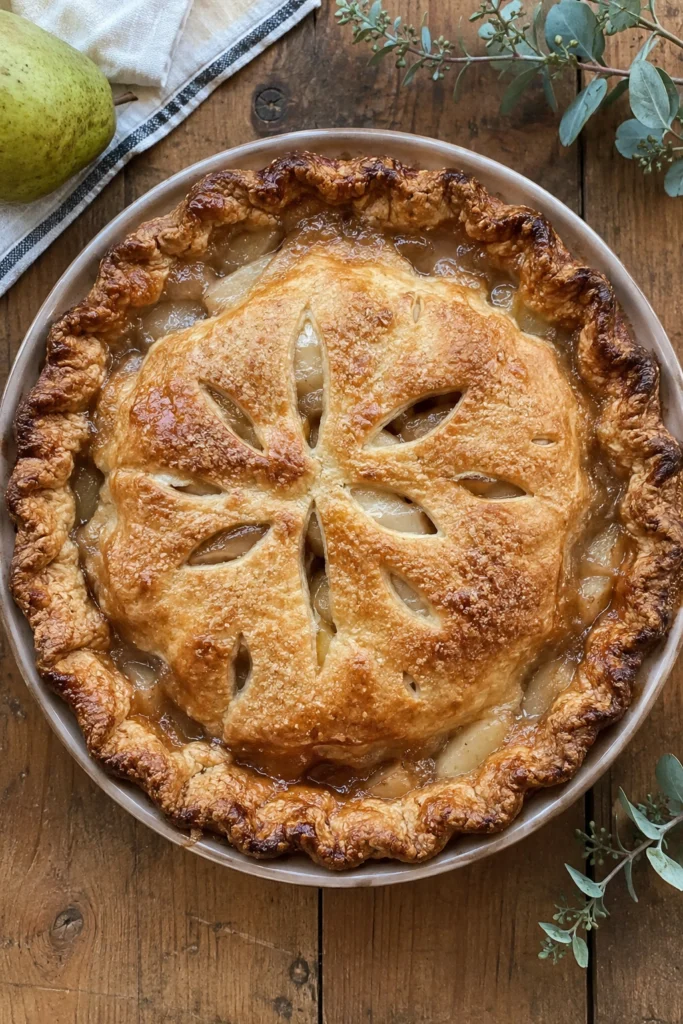
- Top with the second crust, seal the edges, and cut a few slits for ventilation.
- Bake at a higher temperature for the first 10 minutes, then reduce the heat and continue baking until the crust turns golden.
- Cool completely before slicing to let the filling set.
Variations & Tips for This Easy Recipe
This pie is easy to adapt for different diets and preferences, making it a flexible pick for any holiday table.
- Gluten free option: Use a gluten free pie crust in place of the traditional butter crust.
- Sugar free swap: Try a granulated sugar substitute, though texture may vary slightly.
- Mini version: Turn the filling into hand pies for a portable, kid friendly treat.
- Extra spice: Add a pinch of nutmeg or ginger for a deeper, more complex flavor.
- Freezer friendly: Freeze the baked pie whole, or freeze just the filling with an extra teaspoon of flour to absorb excess moisture.
Pro tip: Zest your lemon before juicing it. It’s much easier to remove the zest first, and you’ll get more of it.
FAQs
Can I make this pie ahead of time? Yes, the baked pie keeps in the refrigerator for up to 5 days or in the freezer for up to 3 months.
Do I need to peel the pears? Yes, peeling helps the filling bake up smooth and prevents a tougher texture from the skins.
Why does my filling turn watery? This is often caused by using frozen or overly ripe pears. Add a bit of extra flour to absorb the additional liquid.
Can I use a different type of pear? Bartlett and Anjou are favorites for baking, but most firm, slightly ripe pear varieties will work well in this recipe.
Easy Pear Pie
Equipment
- deep-dish pie pan
- medium mixing bowl
- measuring cups and spoons
- knife
- pastry brush optional
Ingredients
- 1 double pie crust
- 1/2 cup white sugar
- 3 tbsp all-purpose flour
- 1/2 tsp salt
- 1 tsp ground cinnamon
- 1 tsp lemon zest
- 5 cups peeled and chunked pears
- 1 tbsp butter
- 1 tbsp lemon juice
Instructions
- Preheat the oven to 450°F (230°C) and lightly spray a deep-dish pie plate with nonstick cooking spray.
- In a medium bowl, combine the sugar, flour, salt, cinnamon, and lemon zest. Toss the peeled pear chunks with the mixture until evenly coated.
- Line the pie plate with one pie crust and transfer the pear filling into the crust.
- Dot the filling with butter and drizzle the lemon juice evenly over the pears.
- Cover with the second pie crust, seal and crimp the edges, then cut several slits in the top for steam to escape.
- Bake for 10 minutes at 450°F. Reduce the oven temperature to 350°F (175°C) and continue baking for 35 to 40 minutes, or until the crust is golden brown and the filling is bubbling.
- Allow the pie to cool completely for about 4 hours before slicing and serving.