
These mini pumpkin pies bake in a regular muffin tin, giving you all the warm, spiced pumpkin pie flavor in a perfectly portioned, grab-and-go size. No pie plate, no slicing, and no fighting over who gets the biggest piece.
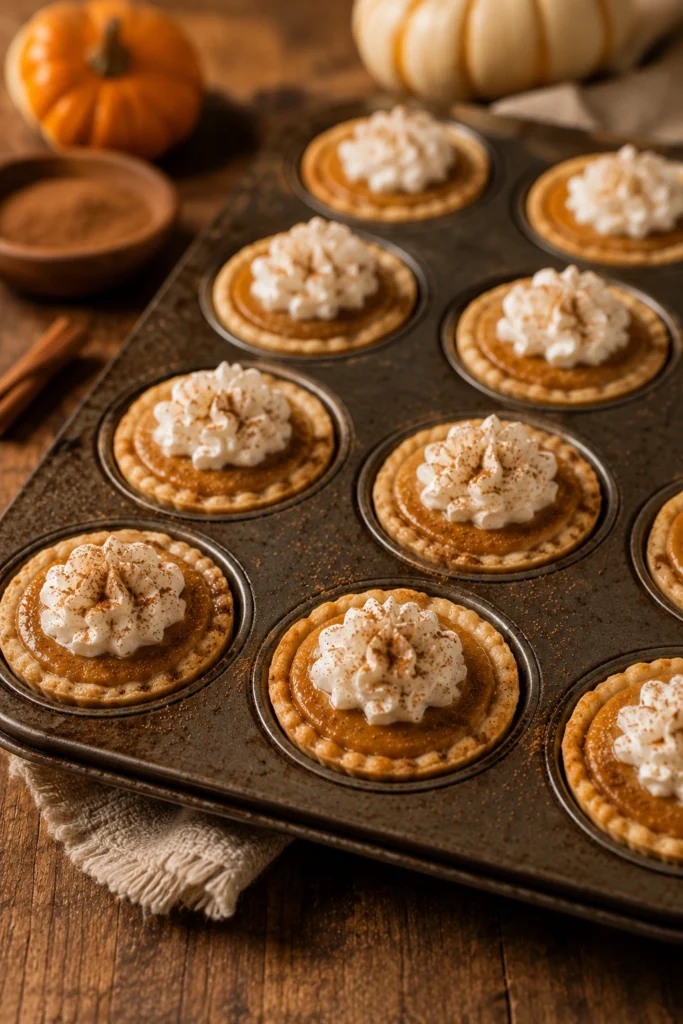
Table of Contents
Why You’ll Love These Mini Pumpkin Pies
Everyone gets their own individual pie. There’s no cutting into a single pie plate and hoping the crust holds together — each mini pumpkin pie lifts out clean and whole, crust and all.
They bake faster than a full-size pie since the smaller portions cook through in under 25 minutes, and the filling comes together in one bowl with a whisk, no mixer needed.
They’re also incredibly practical for a crowd. Set them out on a dessert table, pack them for a potluck, or freeze a batch ahead of Thanksgiving so one less thing is on your plate that day.
Ingredients You’ll Need For These Mini Pumpkin Pies
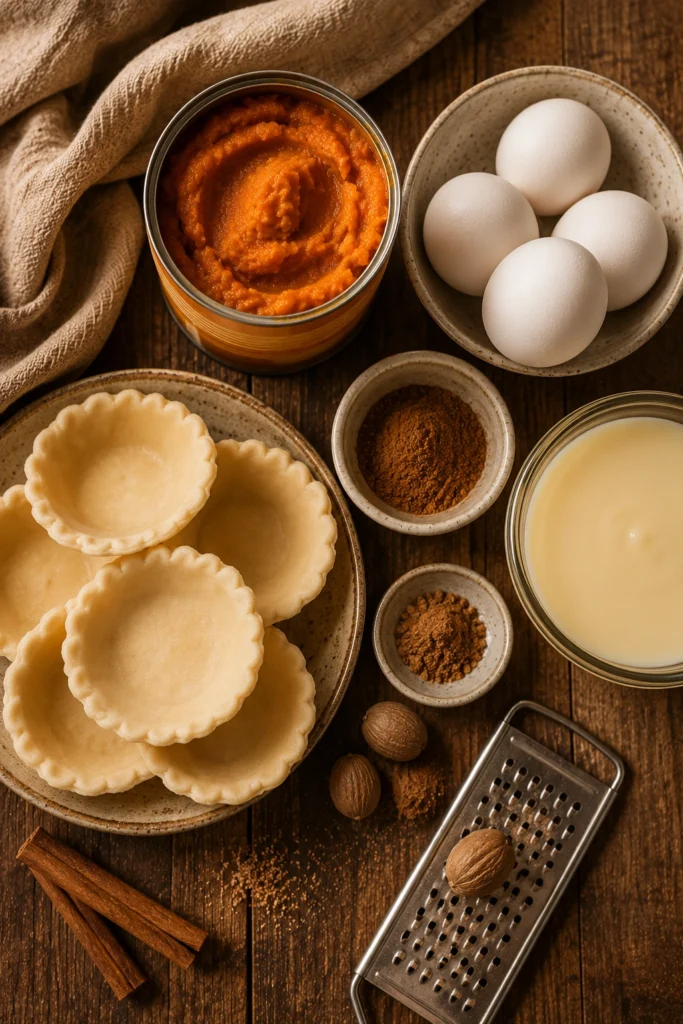
- 1 box (14.1 oz) refrigerated pie crust (2 crusts), or homemade pie dough for two 9-inch crusts — gives you enough dough for 12 rounds with a little re-rolling of scraps.
- 1 cup canned pumpkin puree — make sure it’s pure pumpkin puree, not pumpkin pie filling, which already contains added sugar and spices.
- 1/2 cup sweetened condensed milk — sweetens and thickens the filling in one step, giving it that classic dense, custardy pumpkin pie texture.
- 1 large egg — helps the filling set as it bakes.
- 1 teaspoon pumpkin pie spice — the blend of cinnamon, ginger, nutmeg, and clove that makes this taste unmistakably like fall.
- 1/4 teaspoon salt — balances the sweetness of the condensed milk.
- 1/2 teaspoon vanilla extract — rounds out the pumpkin spice flavor.
- Whipped cream, for serving (optional) — a classic finishing touch, added right before serving.
How to Make Mini Pumpkin Pies
- Preheat your oven to 375°F and grease a standard 12-cup muffin tin well.
- Unroll the pie crusts on a lightly floured surface and cut 12 rounds using a 4-inch round cutter, re-rolling the scraps as needed to get all 12.
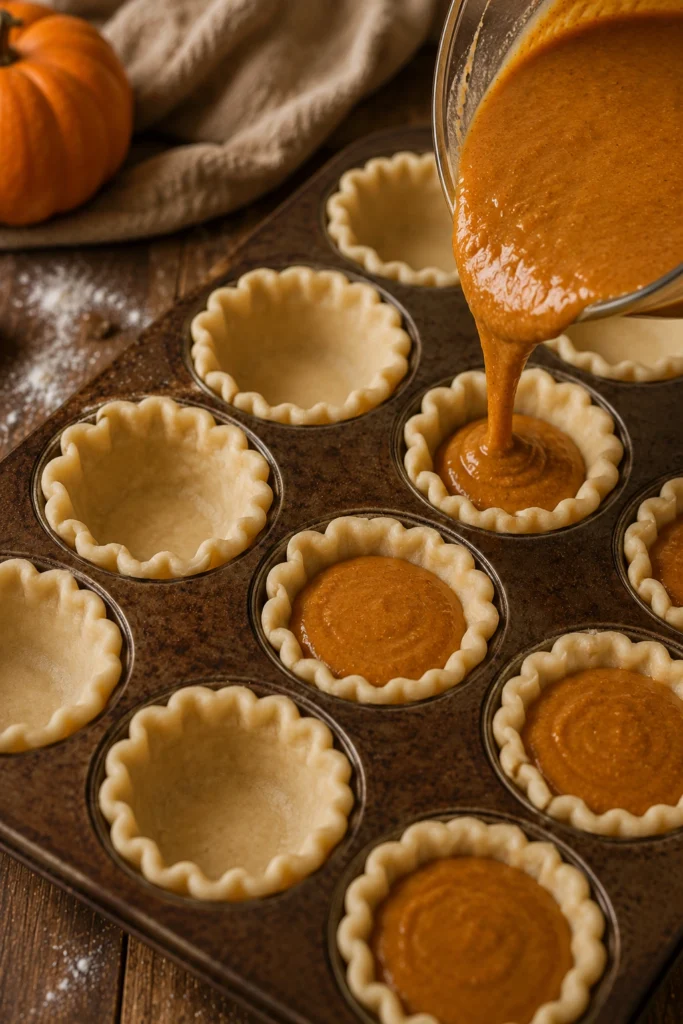
- Press one round into each muffin cup, gently pressing it up the sides so it forms a small cup shape.
- Whisk the pumpkin puree, sweetened condensed milk, egg, pumpkin pie spice, salt, and vanilla extract together in a bowl until completely smooth.
- Divide the filling evenly among the crusts, about 3 tablespoons in each, filling almost to the top of the crust.
- Bake at 375°F for 20 to 22 minutes, until the filling is set with just a slight jiggle in the very center and the crust edges are golden.
- Cool the pies in the pan for 15 minutes, then run a thin knife around the edges and lift them out onto a wire rack to cool completely.
- Chill for at least 1 hour before serving, and top with whipped cream just before serving.
Tips for Success
Don’t overbake the filling. Pumpkin filling firms up significantly as it cools, so pull the pies from the oven when the centers still have a slight jiggle — they’ll finish setting on the counter and in the fridge.
Chill before serving, not just cooling. These need a full hour in the fridge after cooling to fully set into clean, sliceable little pies. Serving them warm or just room temperature often means a soft, underset filling.
Use a thin knife to release the crusts. The most common issue people run into is the crust edges sticking to the pan. Running a thin paring knife around each pie before lifting it out prevents tearing.
Variations to Try
Swap the plain pie crust for a graham cracker crust pressed into the muffin cups for a different textural base.
Add a pecan streusel topping before baking for a mini pumpkin-pecan pie hybrid.
If you love a shortbread-style crust, our Pumpkin Pie with Shortbread Crust uses that same buttery base in a full-size pie.
For a creamier, no-bake alternative, try our Pumpkin Cheesecake Bars, which layer pumpkin into a cheesecake filling instead of a custard pie filling.
What to Serve With Mini Pumpkin Pies
A dollop of fresh whipped cream and a light dusting of cinnamon is really all these need, letting the pumpkin spice flavor stay front and center.
For a full fall dessert spread, set these next to our Apple Cider Donut Holes so guests can choose between pie and donut without committing to a whole slice of either.
FAQs
Can I use homemade pumpkin puree instead of canned? Yes, just make sure it’s well-drained first — homemade puree tends to hold more water than canned, which can make the filling too loose to set properly.
Can I make these ahead for Thanksgiving? Bake them up to 2 days ahead and store covered in the fridge. Add whipped cream just before serving so it doesn’t weep or slide off.
Can I freeze mini pumpkin pies? Yes, freeze the baked and cooled pies (without whipped cream) in an airtight container for up to 2 months. Thaw overnight in the fridge before serving.
Why did my crust shrink or slide down the sides? This usually happens if the dough was too warm when pressed into the pan. Keep the dough cold until you’re ready to press it in, and avoid stretching it too thin against the sides.
Final Thoughts
These mini pumpkin pies bring all the cozy, spiced flavor of a Thanksgiving classic into a size that’s easy to serve, share, and store. They’re just as fitting for a casual fall weeknight as they are for a holiday dessert table.
Bake a batch this season — once you see how easily they come together, they might just replace the full-size pie on your table.
Mini Pumpkin Pies
Equipment
- 12-cup muffin tin
- 4-inch round cutter
- mixing bowl
- whisk
- wire cooling rack
- thin knife
Ingredients
- 1 box (14.1 oz) refrigerated pie crust (2 crusts)
- 1 cup canned pumpkin puree
- 1/2 cup sweetened condensed milk
- 1 large egg
- 1 tsp pumpkin pie spice
- 1/4 tsp salt
- 1/2 tsp vanilla extract
- whipped cream, for serving (optional)
Instructions
- Preheat oven to 375°F and grease a standard 12-cup muffin tin well.
- Unroll pie crusts on a lightly floured surface and cut 12 rounds using a 4-inch round cutter, re-rolling scraps as needed.
- Press one round into each muffin cup, gently pressing up the sides.
- Whisk pumpkin puree, sweetened condensed milk, egg, pumpkin pie spice, salt, and vanilla extract together until smooth.
- Divide filling evenly among crusts, about 3 tablespoons each.
- Bake at 375°F for 20 to 22 minutes, until filling is set with a slight jiggle in the center and crust edges are golden.
- Cool in the pan 15 minutes, then run a thin knife around the edges and lift out onto a wire rack.
- Chill at least 1 hour before serving; top with whipped cream just before serving.