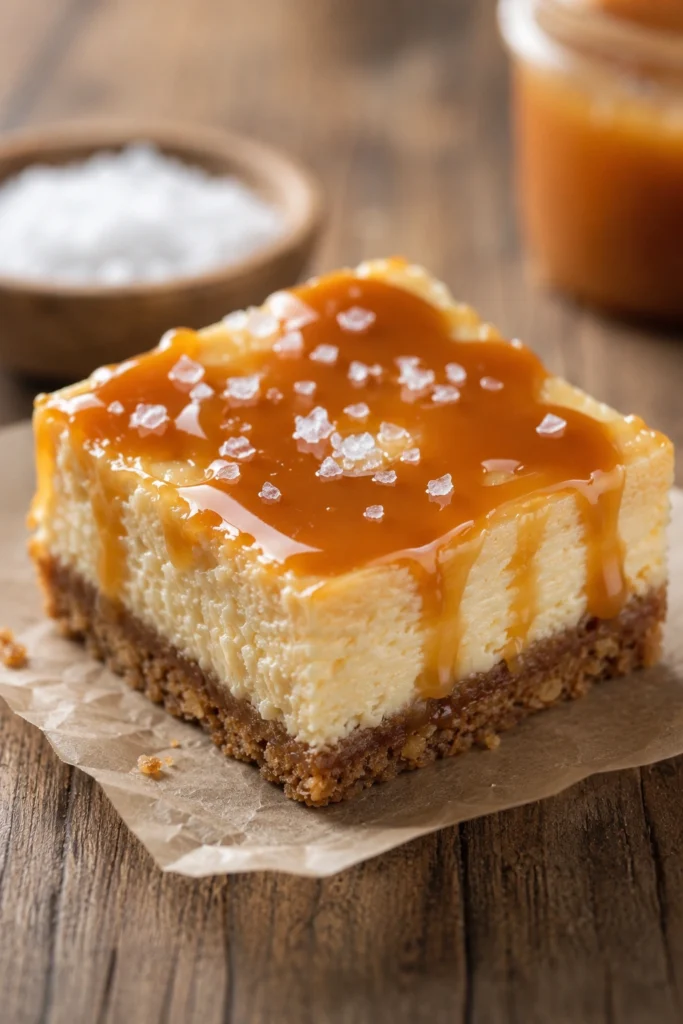
When you want a dessert recipe that delivers all the flavor of cheesecake without the fuss of a full cake, these salted caramel cheesecake bars are the easy answer. A buttery graham cracker crust, a creamy cheesecake layer, and a homemade salted caramel topping come together in one simple, sliceable treat.
This is one of those fall desserts that works for nearly any occasion, from a holiday table to a casual weekend gathering. Cut into bars, it’s also a simple way to serve a crowd without dealing with the precision of cutting a round cheesecake.
Why You’ll Love This Recipe
This recipe is a reliable favorite for a few clear reasons.
- Easy to slice and serve. Bars are far less fussy than a traditional cheesecake, with no need for a water bath.
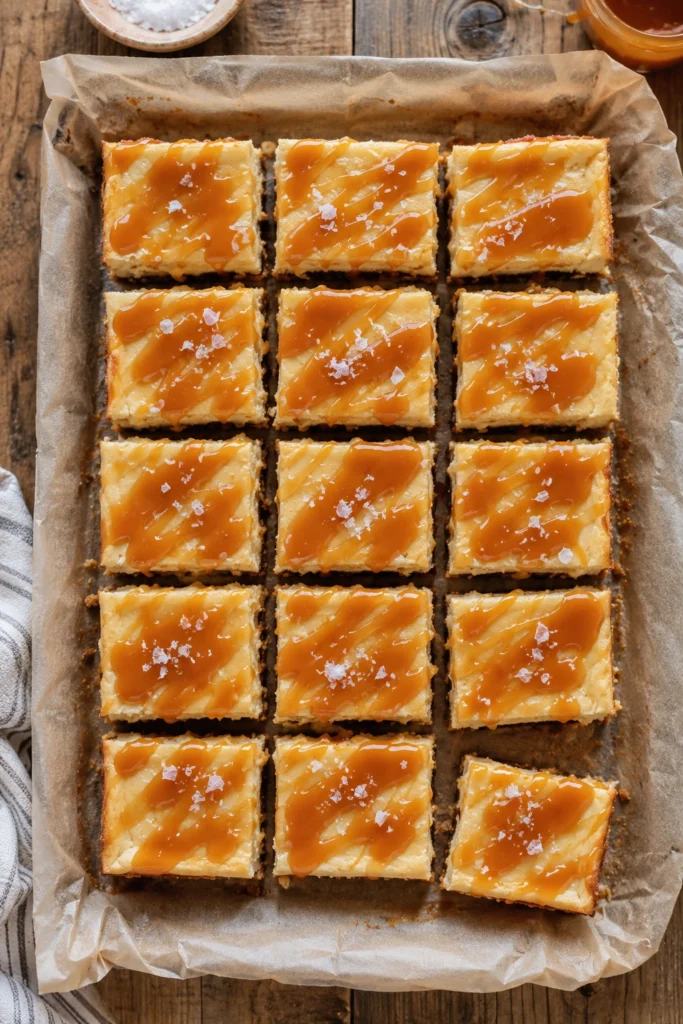
- Great for a crowd. One batch makes 16 bars, perfect for parties, potlucks, or a holiday dessert table.
- Make ahead friendly. The bars need to chill anyway, so they’re easy to prepare a day or more in advance.
- A homemade caramel finish. The salted caramel sauce is simple to make from scratch and takes this dessert to the next level.
Common Mistakes (And How to Avoid Them)
A few key details make the difference between cheesecake bars that are smooth and creamy versus cracked or runny.
Using cold ingredients. Cold cream cheese or sour cream won’t blend smoothly, leading to a lumpy batter. Let all of your dairy ingredients sit at room temperature for at least two hours before mixing.
Stirring the caramel too soon. Stirring the sugar while it’s still melting can cause it to crystallize. Let it boil undisturbed until it turns amber before adding the cream and butter.
Adding caramel before the cheesecake cools. Pouring warm caramel onto a warm cheesecake can cause it to slide or blend into the batter instead of sitting in a clean, distinct layer. Both layers need to cool to room temperature first.
Skipping the chill time. Cutting into the bars too early results in a soft, unset texture. Plan for at least 3 to 4 hours of additional chilling after the caramel is added, or overnight for the best results.
Key Ingredients for This Easy Dessert Recipe
A handful of simple ingredients combine to create this layered, crowd-pleasing bar.
- Full-fat cream cheese – The base of the cheesecake layer; full-fat is important for the right rich, creamy texture.
- Full-fat sour cream – Adds tang and helps create a smooth, dense cheesecake filling.
- Granulated sugar – Used in both the cheesecake batter and the homemade caramel sauce.
- Graham crackers and brown sugar – Form the buttery, slightly sweet crust that holds everything together.
- Heavy cream and butter – Essential for transforming melted sugar into a smooth, glossy salted caramel sauce.
- Fine sea salt – Distributed evenly through the batter and caramel for that classic salted caramel balance.
How to Make Salted Caramel Cheesecake Bars
Follow these simple steps for perfectly layered bars every time.
- Make the crust. Pulse graham crackers and brown sugar in a food processor, then stream in melted butter until a sand-like texture forms.
- Press and bake the crust. Press the mixture evenly into a parchment-lined 9×9-inch pan and bake at 350°F for 7 to 10 minutes until lightly browned, then cool completely.
- Make the caramel. Boil sugar and water until amber in color, then carefully stir in heavy cream, butter, vanilla, and salt until smooth. Let it cool to room temperature.
- Make the cheesecake batter. Beat cream cheese and sugar until smooth, then mix in sour cream, vanilla, and salt, followed by the eggs one at a time.
- Bake the cheesecake layer. Pour the batter over the cooled crust and bake at 325°F for 40 to 45 minutes, until the center is set and the edges are lightly browned.
- Cool completely. Let the cheesecake cool fully on a wire rack before topping with the cooled caramel sauce.
- Chill and slice. Refrigerate for 3 to 4 hours or overnight, then slice into bars using a clean knife between each cut for neat layers.
Variations & Tips
This easy recipe is simple to adapt to fit your table or your guests.
- Gluten free option: Swap in gluten free graham crackers for the crust to make this dessert gluten free.
- Fancy presentation: Drizzle extra caramel over each individual bar and finish with a pinch of flaky sea salt for a bakery-style look.
- Make ahead idea: These bars can be frozen in a single layer, making them a convenient dessert to prep well before a holiday table.
- Creative twist: Add a layer of chopped toasted pecans between the cheesecake and caramel for extra crunch.
- Pro tip: Wipe your knife clean after every slice for picture-perfect bars that show off the distinct caramel, cheesecake, and crust layers.
FAQs
Do I need a water bath for these cheesecake bars? No. Unlike a traditional cheesecake, these bars bake directly in a metal pan without a water bath.
Can I make these bars ahead of time? Yes. They actually need time to chill before slicing, so they’re easy to prepare a day or two before you plan to serve them.
Can I freeze the cheesecake bars? Yes. Freeze them in a single layer on a parchment-lined pan, then transfer to an airtight container. Thaw in the refrigerator before serving.
Why did my caramel turn out grainy? This usually happens if the caramel is stirred too early. Let the sugar melt and darken undisturbed before adding the cream and butter.
Salted Caramel Cheesecake Bars
Equipment
- 9×9-inch baking pan
- parchment paper
- food processor
- mixing bowls
- electric mixer
- medium saucepan
- wire cooling rack
- offset spatula
Ingredients
- 12 graham cracker sheets
- 2 tbsp light brown sugar
- 6 tbsp unsalted butter, melted
- 24 oz full-fat cream cheese, room temperature
- 3/4 cup granulated sugar
- 1 cup full-fat sour cream, room temperature
- 2 tsp vanilla extract
- 1/2 tsp fine sea salt
- 3 large eggs
- 1 cup granulated sugar for caramel
- 1/4 cup water
- 1/2 cup heavy cream
- 4 tbsp unsalted butter
- 1 tsp vanilla extract for caramel
- 1/2 tsp fine sea salt for caramel
Instructions
- Preheat the oven to 350°F. Line a 9×9-inch baking pan with parchment paper.
- Pulse the graham crackers and brown sugar in a food processor until fine crumbs form. Add melted butter and pulse until the mixture resembles wet sand.
- Press the crust mixture evenly into the prepared pan. Bake for 7 to 10 minutes until lightly golden, then cool completely.
- To make the caramel, combine sugar and water in a saucepan. Cook without stirring until the mixture turns deep amber.
- Carefully whisk in the heavy cream, then add the butter, vanilla, and sea salt. Stir until smooth and allow to cool to room temperature.
- Reduce oven temperature to 325°F. Beat the cream cheese and sugar until smooth and creamy.
- Mix in the sour cream, vanilla extract, and sea salt. Add the eggs one at a time, mixing just until combined.
- Pour the cheesecake batter over the cooled crust and smooth the top.
- Bake for 40 to 45 minutes until the center is set and the edges are lightly golden. Cool completely on a wire rack.
- Spread the cooled salted caramel evenly over the cheesecake layer.
- Refrigerate for at least 4 hours or overnight until fully chilled. Slice into 16 bars and serve.