
There is nothing quite as satisfying as a truly decadent, creamy dessert—except maybe one that requires zero baking and is completely sugar-free. This recipe for Sugar-Free Layered Dessert is the ultimate secret weapon for anyone who loves rich chocolate, creamy texture, and the sheer convenience of a chilled, make-ahead sweet treat. It’s often called a “chocolate delight” or “lush” dessert, and for good reason—it’s pure indulgence.
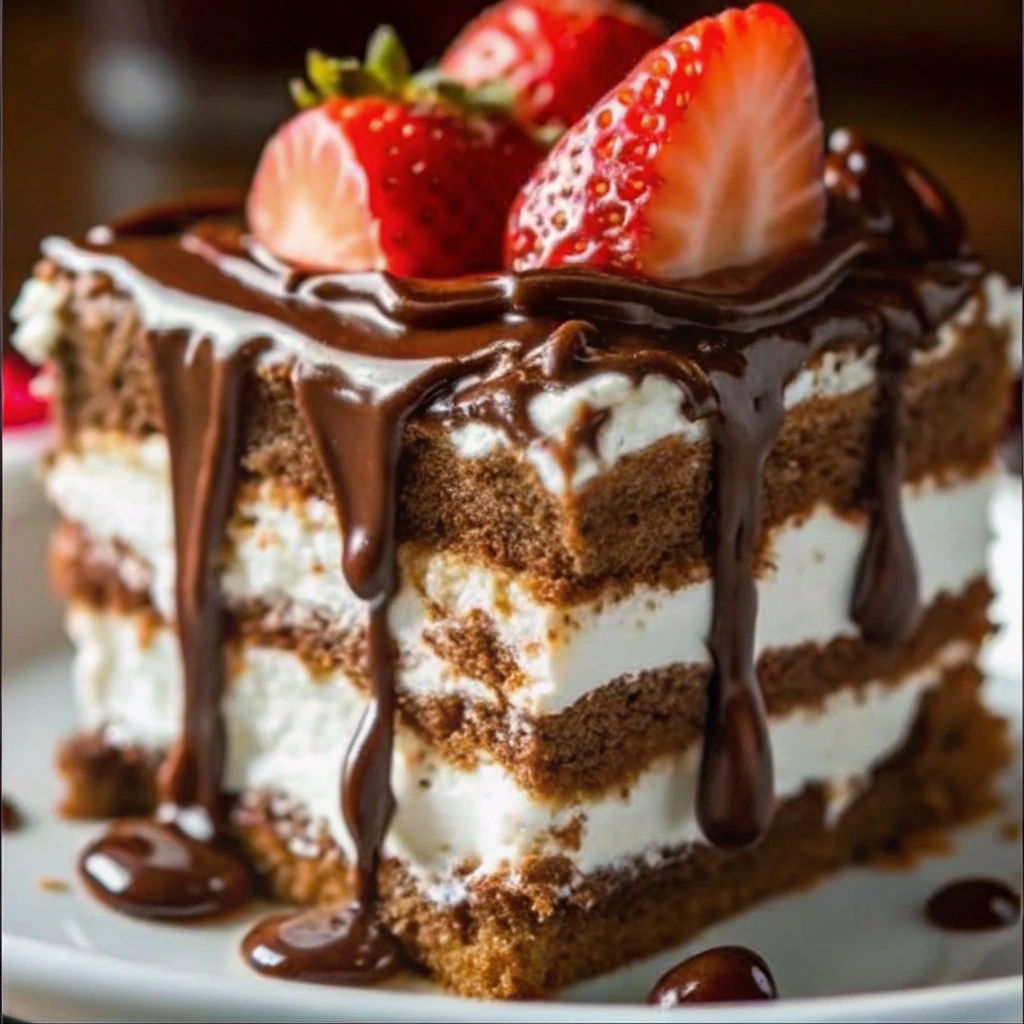
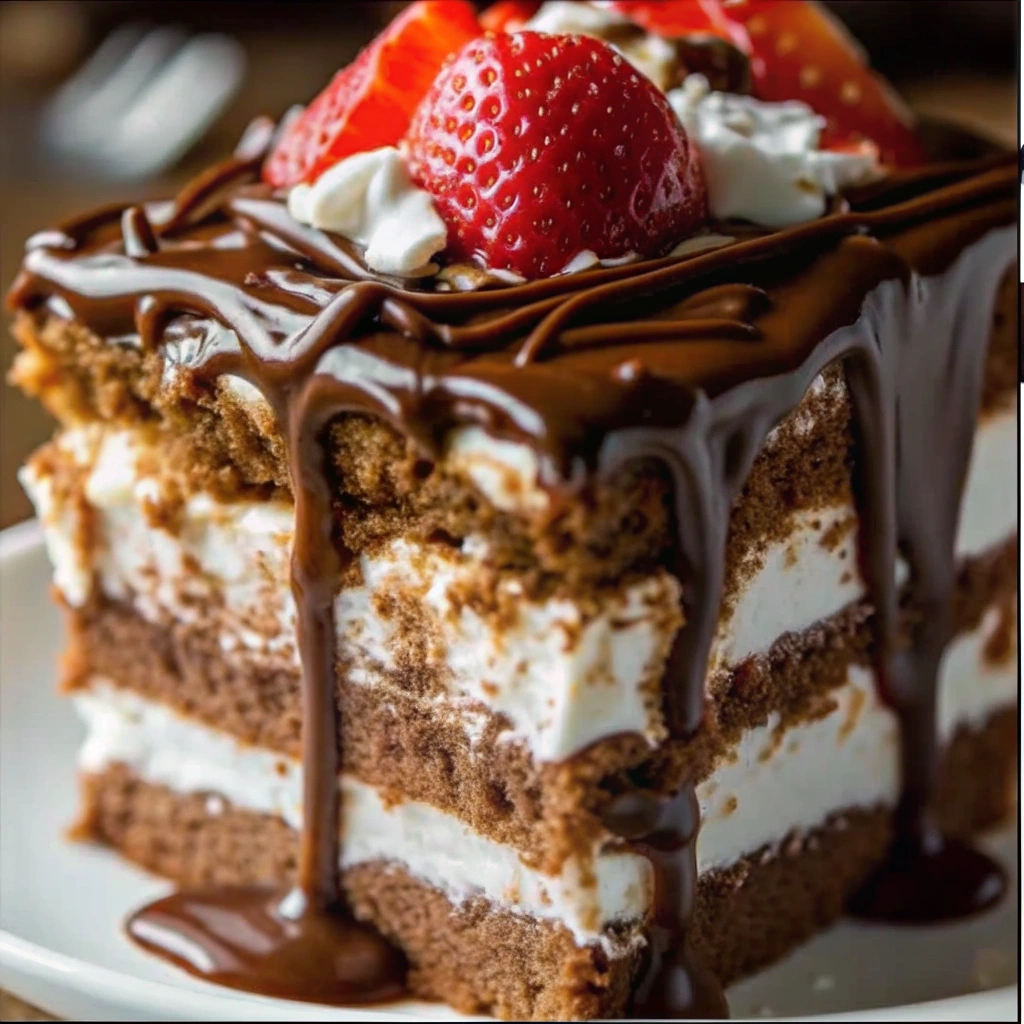
This masterpiece is built in four irresistible layers: a buttery, nutty crust, a fluffy cream cheese layer, a rich chocolate pudding layer, and a crown of whipped topping and chocolate shavings. Because we use keto-friendly sweeteners and almond flour, this dessert fits perfectly into a low-carb or zero-sugar lifestyle, meaning you can enjoy all the comfort without the guilt.
The beauty of this no-bake layered dessert lies in its simplicity. Each layer is easy to prepare, and the final chilling process does all the work, marrying the flavors into a cohesive, sliceable, and spectacular centerpiece. Whether you’re hosting a family dinner or just craving a chilled treat, this Keto Chocolate Delight is guaranteed to be a new favorite.
Why This Sugar-Free Dessert Works Every Time
Creating a stable, delicious sugar-free layered dessert requires a careful understanding of how low-carb ingredients bind and set. This recipe focuses on crucial techniques to ensure a smooth, creamy texture that holds up perfectly when sliced.
- The Power of Almond Flour: We use finely ground almond flour (or pecan meal) for the crust. This naturally low-carb flour absorbs the melted butter perfectly, creating a firm, buttery crust that provides a satisfying structural base for the creamy layers above it. Unlike traditional flour, it helps keep the dessert zero-carb friendly.
- Stabilized Cream Cheese: The cream cheese layer is designed to be thick and stable. By using softened full-fat cream cheese and folding it gently with whipped topping, we create an airy, tangy layer that sets firmly in the refrigerator. This stable layer is what prevents the pudding layer from soaking into the crust and making it soggy.
- The Powdered Sweetener Rule: Using a powdered version of your favorite keto sweetener (like erythritol or monk fruit) is non-negotiable for this recipe. Granulated sweeteners won’t dissolve properly into the cold layers, leaving a gritty or crunchy texture. The powdered sweetener blends seamlessly into the cream cheese and pudding, ensuring every layer is silky smooth.
- Make-Ahead Mastery: This dessert must be fully chilled for at least 4 hours, and ideally overnight. The chill time allows the fat in the cream cheese and the stabilizers in the pudding to set completely, ensuring you can cut perfect, clean slices.
Ingredients
This recipe is structured by its four delicious layers. Ensure your cream cheese and butter are at room temperature for the best mixing results!
Layer 1: The Nutty Crust
- 1 ½ cups finely ground almond flour or pecan meal
- ½ cup (1 stick) unsalted butter, melted
- 3 tablespoons powdered keto sweetener (e.g., Swerve or Lakanto Monk Fruit)
- ½ teaspoon vanilla extract
Layer 2: The Cream Cheese Layer
- 8 ounces full-fat cream cheese, softened to room temperature
- ½ cup powdered keto sweetener, sifted
- 1 teaspoon vanilla extract
- 1 cup heavy whipping cream, whipped OR 4 ounces sugar-free whipped topping (Cool Whip)
Layer 3: The Chocolate Pudding Layer
- 1 package (3.9 ounces) sugar-free instant chocolate pudding mix (Jello brand is widely available)
- 2 cups cold unsweetened almond milk (or coconut milk)
Layer 4: The Topping
- 1 cup heavy whipping cream, whipped OR 8 ounces sugar-free whipped topping (Cool Whip)
- ¼ cup grated sugar-free dark chocolate or cocoa powder (for garnish)
Step-by-Step Instructions: Layer, Chill, and Set
Follow these steps precisely, giving ample time for chilling between layers to guarantee a perfectly defined, sliceable dessert.
Part 1: Preparing and Setting the Crust (15 Minutes)
- Prep Pan: Preheat oven to $350^\circ F$ ($175^\circ C$). Lightly grease a $9 \times 13$ inch baking dish.
- Mix Crust: In a medium bowl, combine the almond flour, melted butter, 3 tablespoons of powdered sweetener, and vanilla extract. Mix until the crumbs are evenly moistened and resemble wet sand.
- Press and Bake: Press the mixture firmly and evenly into the bottom of the prepared pan. Bake for 8–10 minutes until lightly golden brown. This sets the butter and prevents the crust from becoming soggy.
- Cool Completely: Remove from the oven and allow the crust to cool completely to room temperature before adding the next layer.
Part 2: Assembling the Cream Cheese and Pudding Layers (15 Minutes)
- Make Cream Cheese Layer: In a large bowl, beat the softened cream cheese, ½ cup of powdered sweetener, and vanilla extract until completely smooth and lump-free. Gently fold in the 1 cup of whipped heavy cream (or 4 ounces of Cool Whip).
- Spread Layer 2: Carefully spread the cream cheese mixture evenly over the cooled crust. Place the pan in the refrigerator while you prepare the pudding.
- Make Pudding Layer: In a separate medium bowl, whisk the sugar-free instant chocolate pudding mix with 2 cups of cold almond milk for 2 minutes. The pudding will begin to thicken almost immediately.
- Spread Layer 3: Carefully pour or spoon the thickened chocolate pudding over the cream cheese layer (Layer 2). Use an offset spatula to smooth the pudding over the surface.
Part 3: Chilling and Finishing (4 Hours Minimum)
- The Main Chill (Crucial): Cover the pan tightly with plastic wrap and refrigerate for a minimum of 4 hours, or until the pudding layer is completely firm.
- Add Topping: Once the layers are set, gently spread the final whipped topping (Layer 4) evenly over the top of the chilled pudding.
- Garnish: Grate the dark chocolate (or sprinkle cocoa powder) over the top of the whipped topping.
- Serve: For the cleanest slices, refrigerate for another 30 minutes after topping. Slice and serve immediately.
Pro Tips for Zero-Carb Dessert Perfection
Achieving a professional-quality sugar-free layered dessert is simple if you follow these expert tips, focusing on structure and creaminess.
- The Best Keto Sweetener: Use a powdered or confectioners’ style keto sweetener (erythritol, xylitol, or monk fruit blend). Granulated sweeteners will not dissolve into the cream cheese or the pudding base, leaving the layers grainy. Sift the powdered sweetener before use to eliminate any hard lumps.
- Preventing a Watery Pudding: Always use cold liquid (almond milk or coconut milk) when mixing instant pudding. Cold liquid helps the starches in the pudding set up faster. If your pudding seems too thin after 2 minutes of whisking, let it sit for an extra 5 minutes before spreading.
- Stabilize the Cream Cheese Layer: Use softened, full-fat cream cheese. The fat content is essential for a stable, firm filling. If you are worried about the cream cheese layer being too soft, fold in 1 tablespoon of coconut flour or 1 teaspoon of xanthan gum into the cream cheese mixture before folding in the whipped topping.
- Toasted Nuts (Optional Upgrade): For a deeper, richer flavor in the crust, toast your almond flour or chopped pecans in a dry skillet for 3–5 minutes until fragrant before mixing them with the butter. This significantly enhances the nutty flavor.
- The Clean Slice: To get perfectly neat, clean slices, fill a tall glass with hot water. Dip your knife into the hot water, wipe the blade dry, and make the first cut. Repeat the hot water-wipe step before every slice.
Serving Suggestions and Creative Variations
This Keto Layered Dessert is a showstopper, perfect for holiday gatherings or simply satisfying a deep chocolate craving.
Serving Ideas
- Dessert Bar: Serve chilled slices alongside bowls of keto-friendly toppings like fresh berries (strawberries or raspberries), extra chopped nuts, or a drizzle of keto caramel sauce.
- Coffee Pairing: The rich chocolate pairs beautifully with a hot mug of coffee or a low-carb mocha.
- Portion Control: For easy serving, you can assemble this dessert in individual small jars or glasses, creating beautiful, miniature layered parfaits.
Creative Flavor Variations
- Peanut Butter Layer: Substitute ½ cup of the cream cheese with ½ cup of creamy sugar-free peanut butter before beating in the powdered sweetener. This creates a decadent peanut butter-chocolate layer.
- Mint Chocolate: Add ½ teaspoon of peppermint extract to the cream cheese layer (Layer 2) and a pinch of green food coloring for a festive mint chip twist.
- Coconut Cream: Use full-fat coconut milk (canned, chilled overnight, and scoop the cream from the top) instead of heavy cream in the whipped layer for a subtle, tropical flavor. Sprinkle with toasted coconut flakes.
- Pudding Swaps: Substitute the chocolate pudding (Layer 3) with a sugar-free vanilla, butterscotch, or lemon pudding mix for a different flavor profile. The lemon is especially good with the almond crust.
- Spice Crust: Substitute the cinnamon in the crust with a pinch of nutmeg and allspice for a warmer, autumnal flavor.
Frequently Asked Questions (FAQ)
- Can I use any kind of sugar-free pudding mix? Yes! This recipe works perfectly with sugar-free instant vanilla, cheesecake, or butterscotch pudding mixes. However, you must use an instant mix, as cooked puddings will not set up correctly when combined with the cold almond milk.
- Can I make this dessert completely vegan? Yes! You would need to substitute:
- Cream Cheese: Use a high-quality vegan cream cheese alternative.
- Butter: Use vegan butter sticks or coconut oil for the crust.
- Almond Milk/Cream: Ensure your almond milk is unsweetened, and use a high-fat vegan whipping cream or frozen plant-based whipped topping (Cool Whip alternative).
- My pudding layer is runny. What went wrong? This usually happens if the milk wasn’t cold enough or if the pudding wasn’t whisked long enough. Try letting the pudding sit for 5–10 minutes after mixing before spreading it over the cream cheese layer. If it is still thin, it may be due to the specific brand of milk used (some thin nut milks hinder setting).
- How long does this sugar-free dessert last? When stored tightly covered in the refrigerator, this dessert will last for 3–4 days. It must be kept chilled due to the cream cheese and dairy layers.
- Can I freeze this layered dessert? Yes! It freezes surprisingly well. Assemble the entire dessert, cover it tightly, and freeze for up to 1 month. Thaw overnight in the refrigerator before slicing and serving. The texture may be slightly softer, but the flavor remains excellent.
- How do I prevent the crust from becoming soggy? The two main ways to prevent a soggy crust are: 1) Baking the crust for 8-10 minutes to set the butter and create a barrier, and 2) Ensuring the cream cheese layer (Layer 2) is spread evenly and completely over the crust before adding the wetter pudding layer (Layer 3).
This Sugar-Free Layered Chocolate Delight is the ultimate testament to guilt-free indulgence. Enjoy the ease and the applause!
Don’t forget to Pin this irresistible no-bake keto dessert recipe and share your favorite sugar-free topping idea in the comments below!
No-Bake Sugar-Free Layered Chocolate Delight
Ingredients
Equipment
Method
- In a bowl, combine almond flour, melted butter, sweetener, and vanilla until crumbly. Press evenly into an 8×8-inch dish.
- Chill crust in the refrigerator while preparing the filling.
- Beat softened cream cheese with sweetener and vanilla until smooth. Add heavy cream and whip to stiff peaks.
- If using gelatin, bloom in a small amount of water, melt, and mix into the cream cheese mixture.
- Spread the cream cheese layer over the chilled crust and smooth the top evenly.
- Whip the second cup of heavy cream with sweetener to soft peaks. Spread or pipe over the cream cheese layer.
- Cover and refrigerate for 3–4 hours or overnight to fully set.
- Slice into servings with a sharp knife, wiping between cuts for clean layers.
- Garnish with cocoa powder, berries, or sugar-free chocolate shavings. Serve chilled.
- Store covered in the refrigerator for up to 5 days, or freeze individual portions for up to 2 months.